This post may contain affiliate links. Please read our disclosure policy.
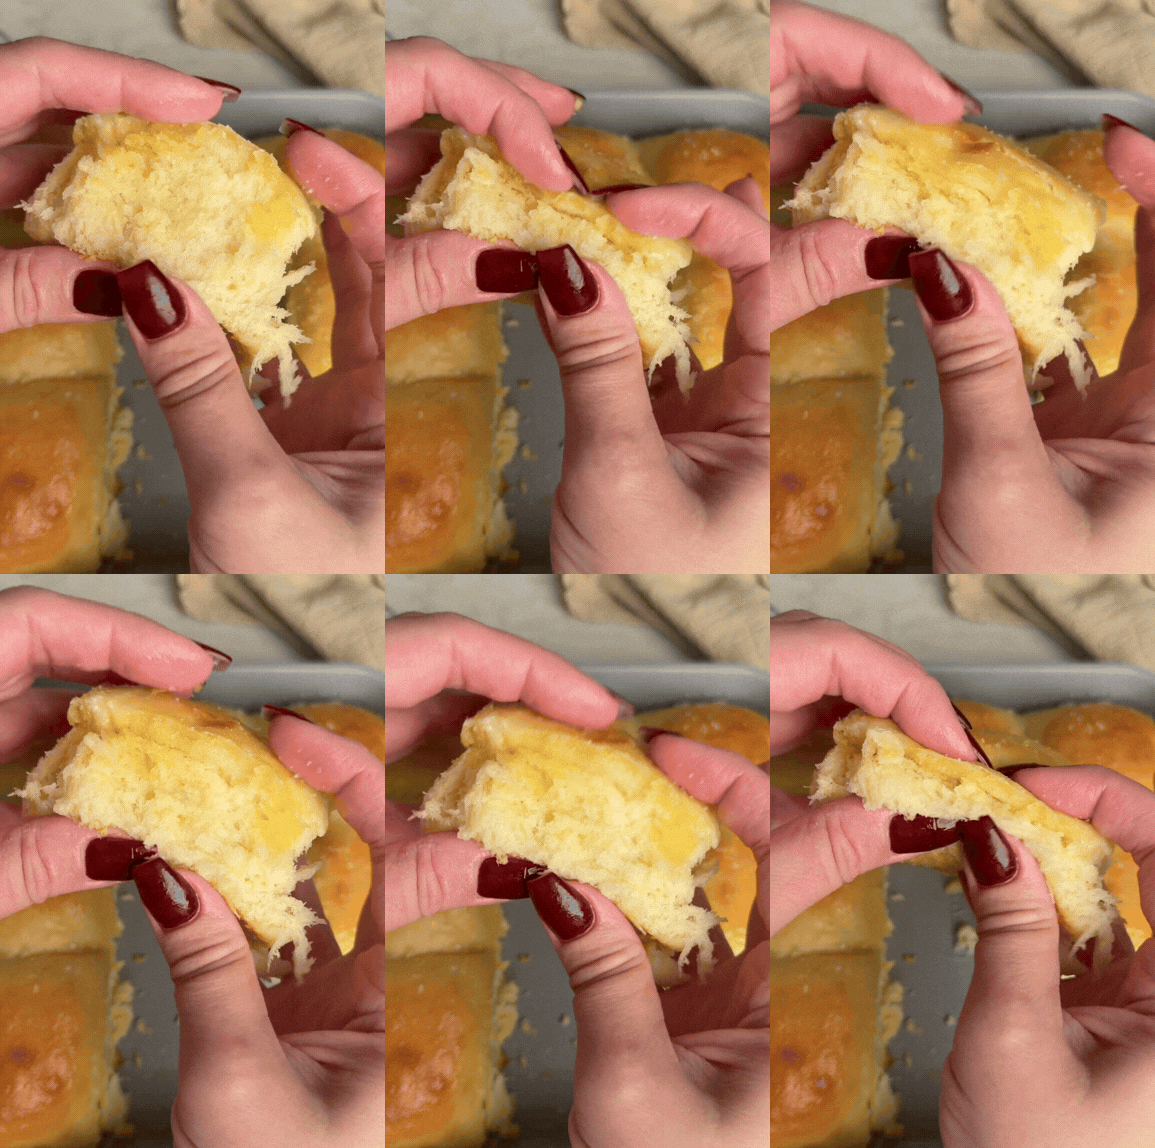
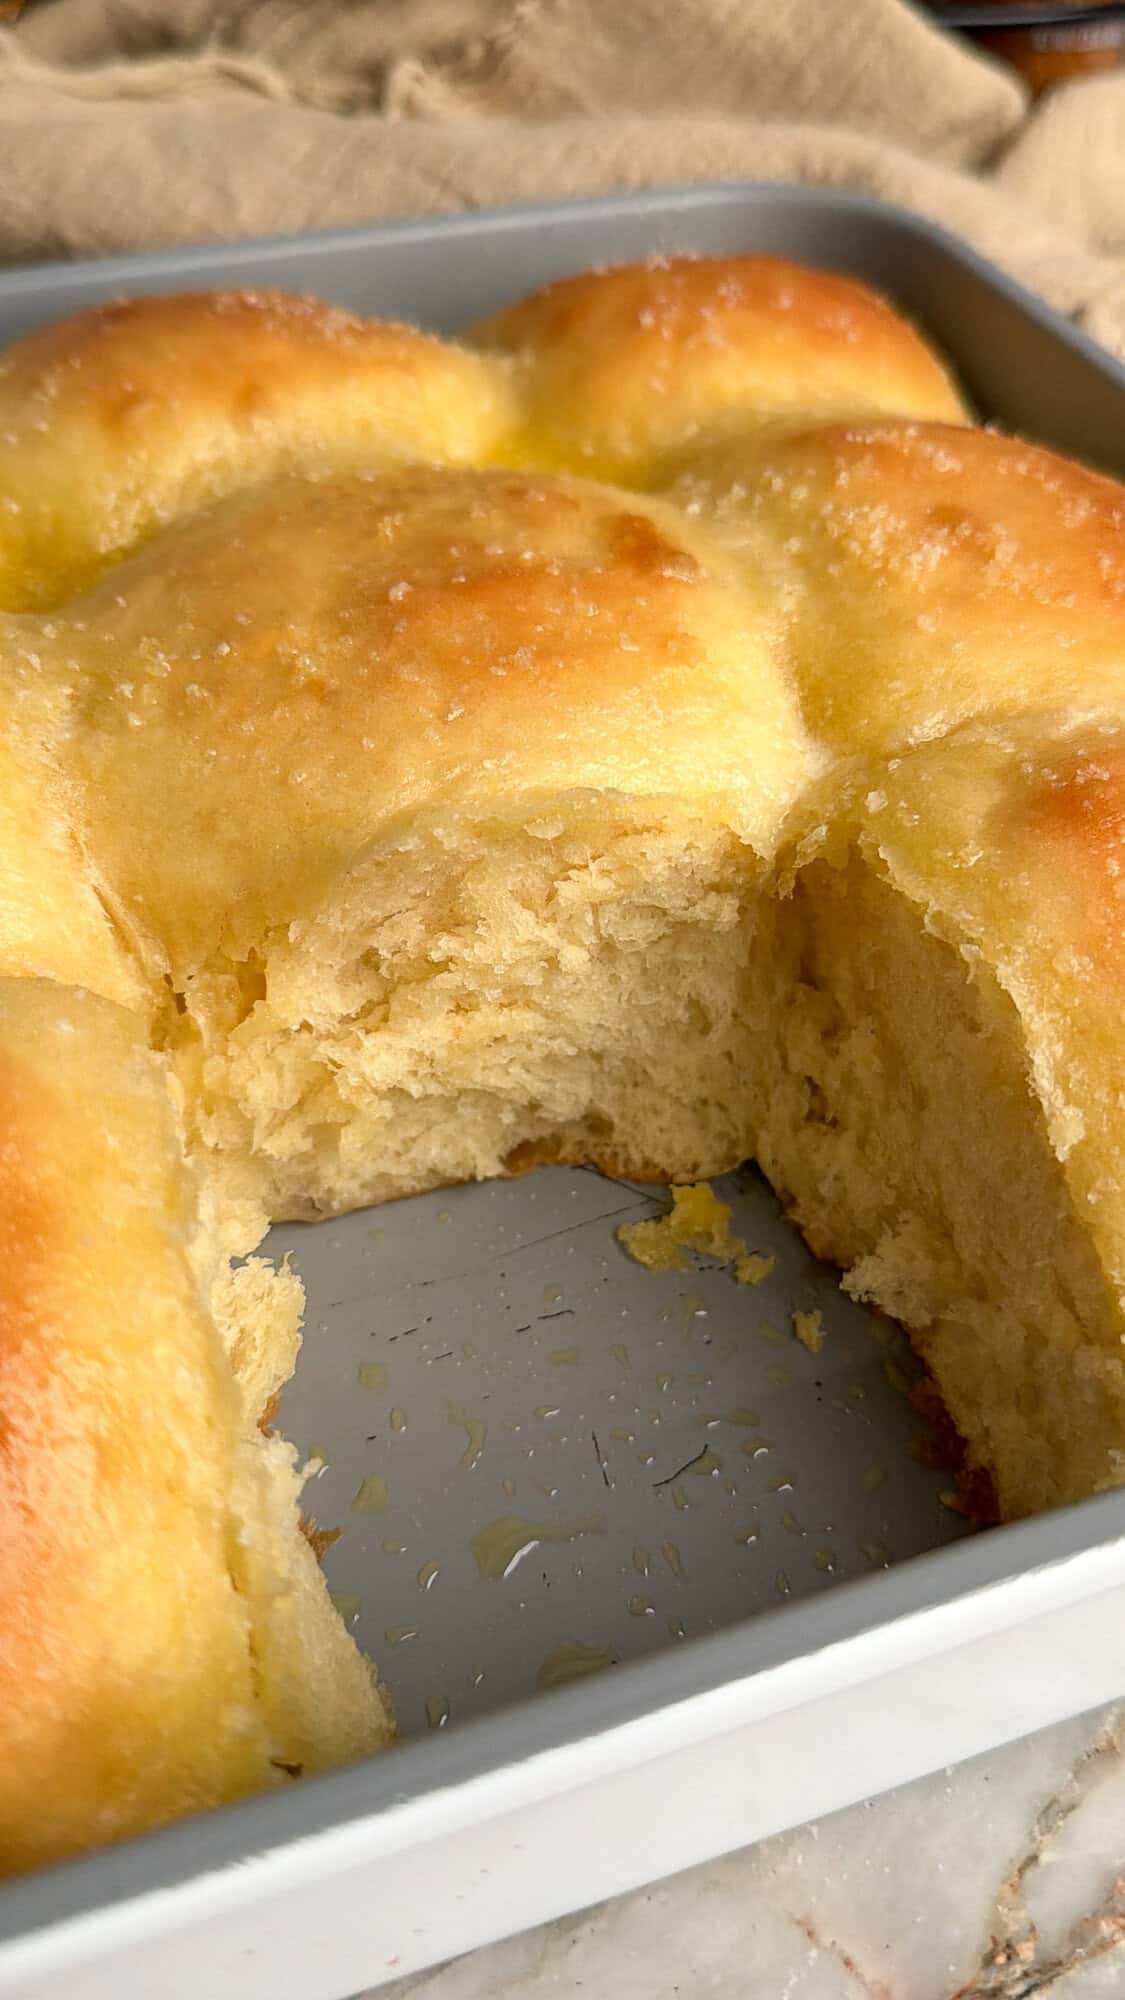
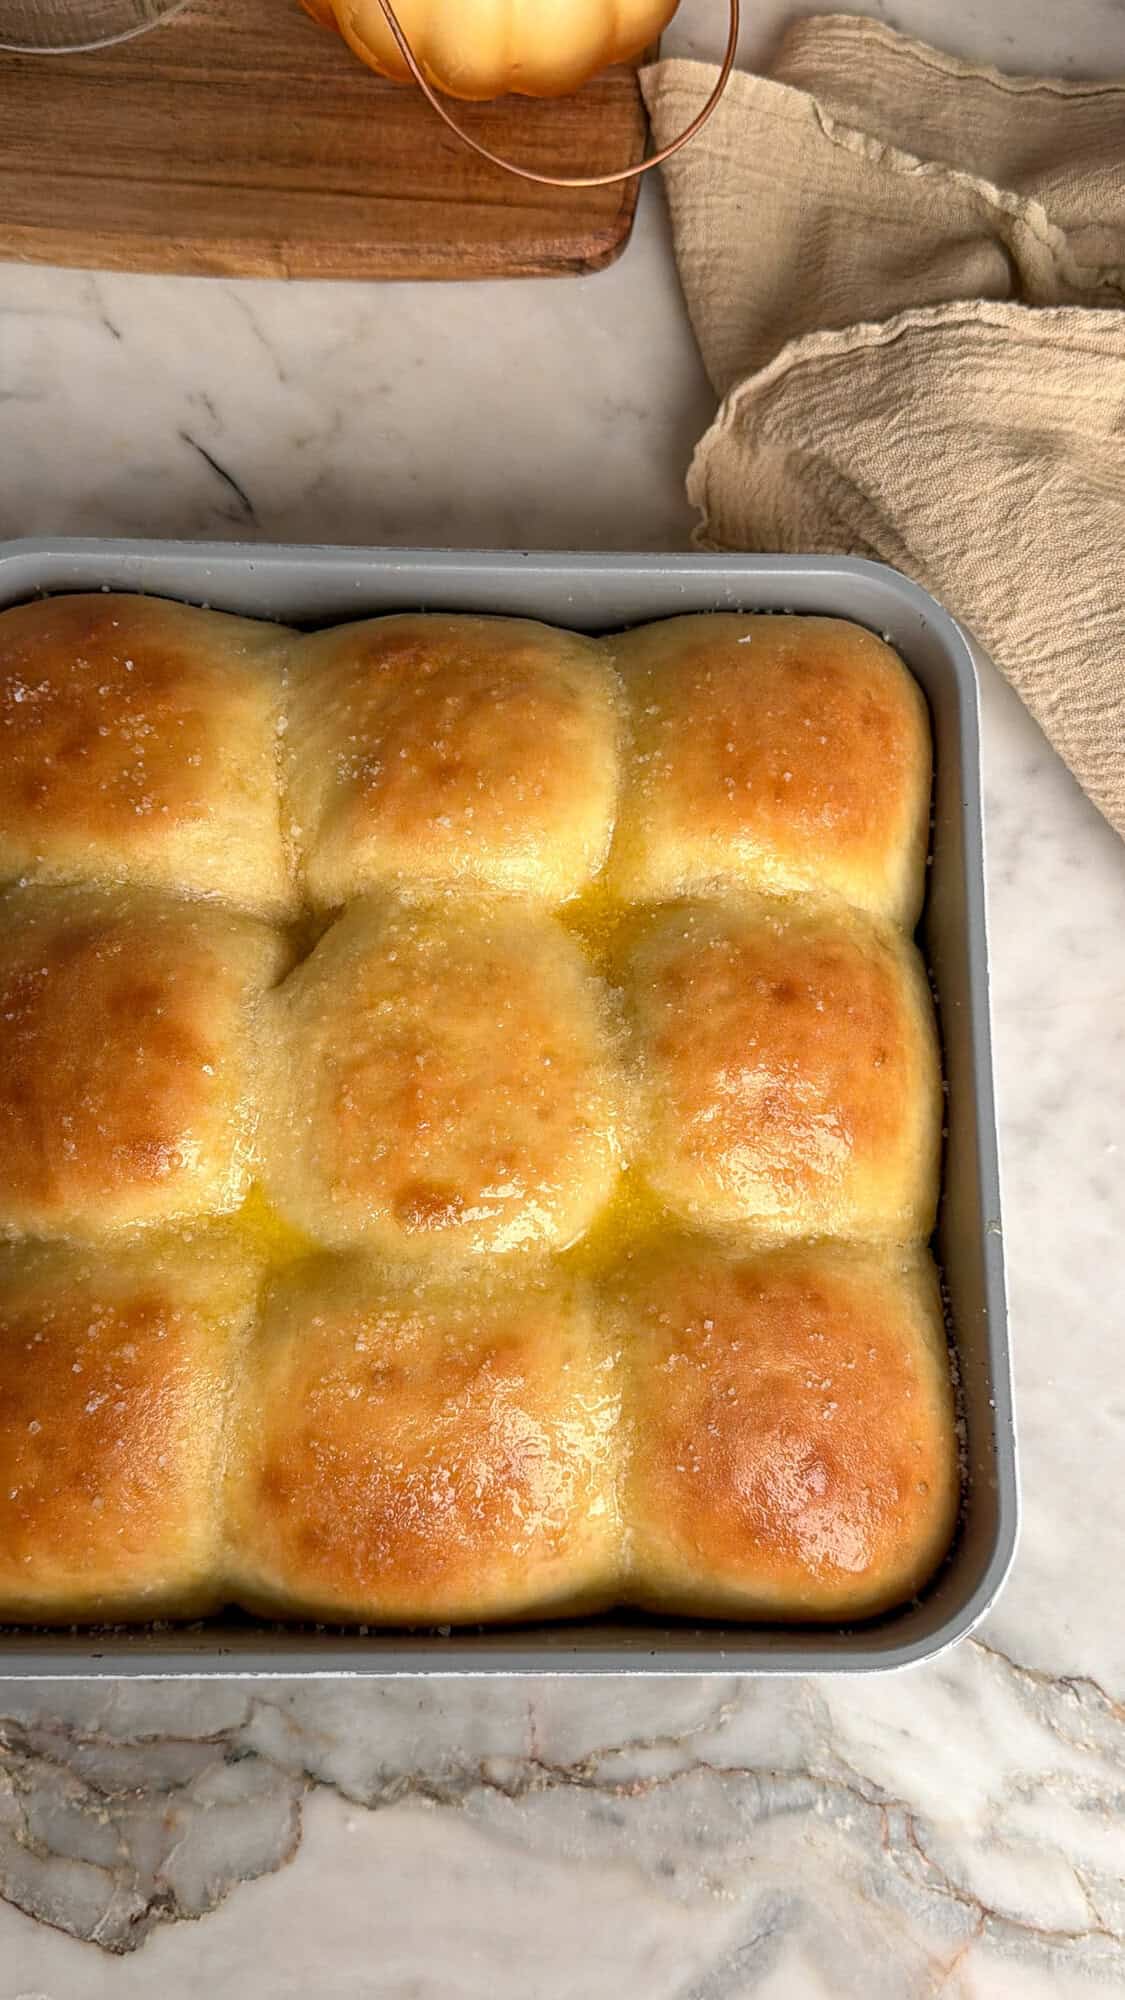
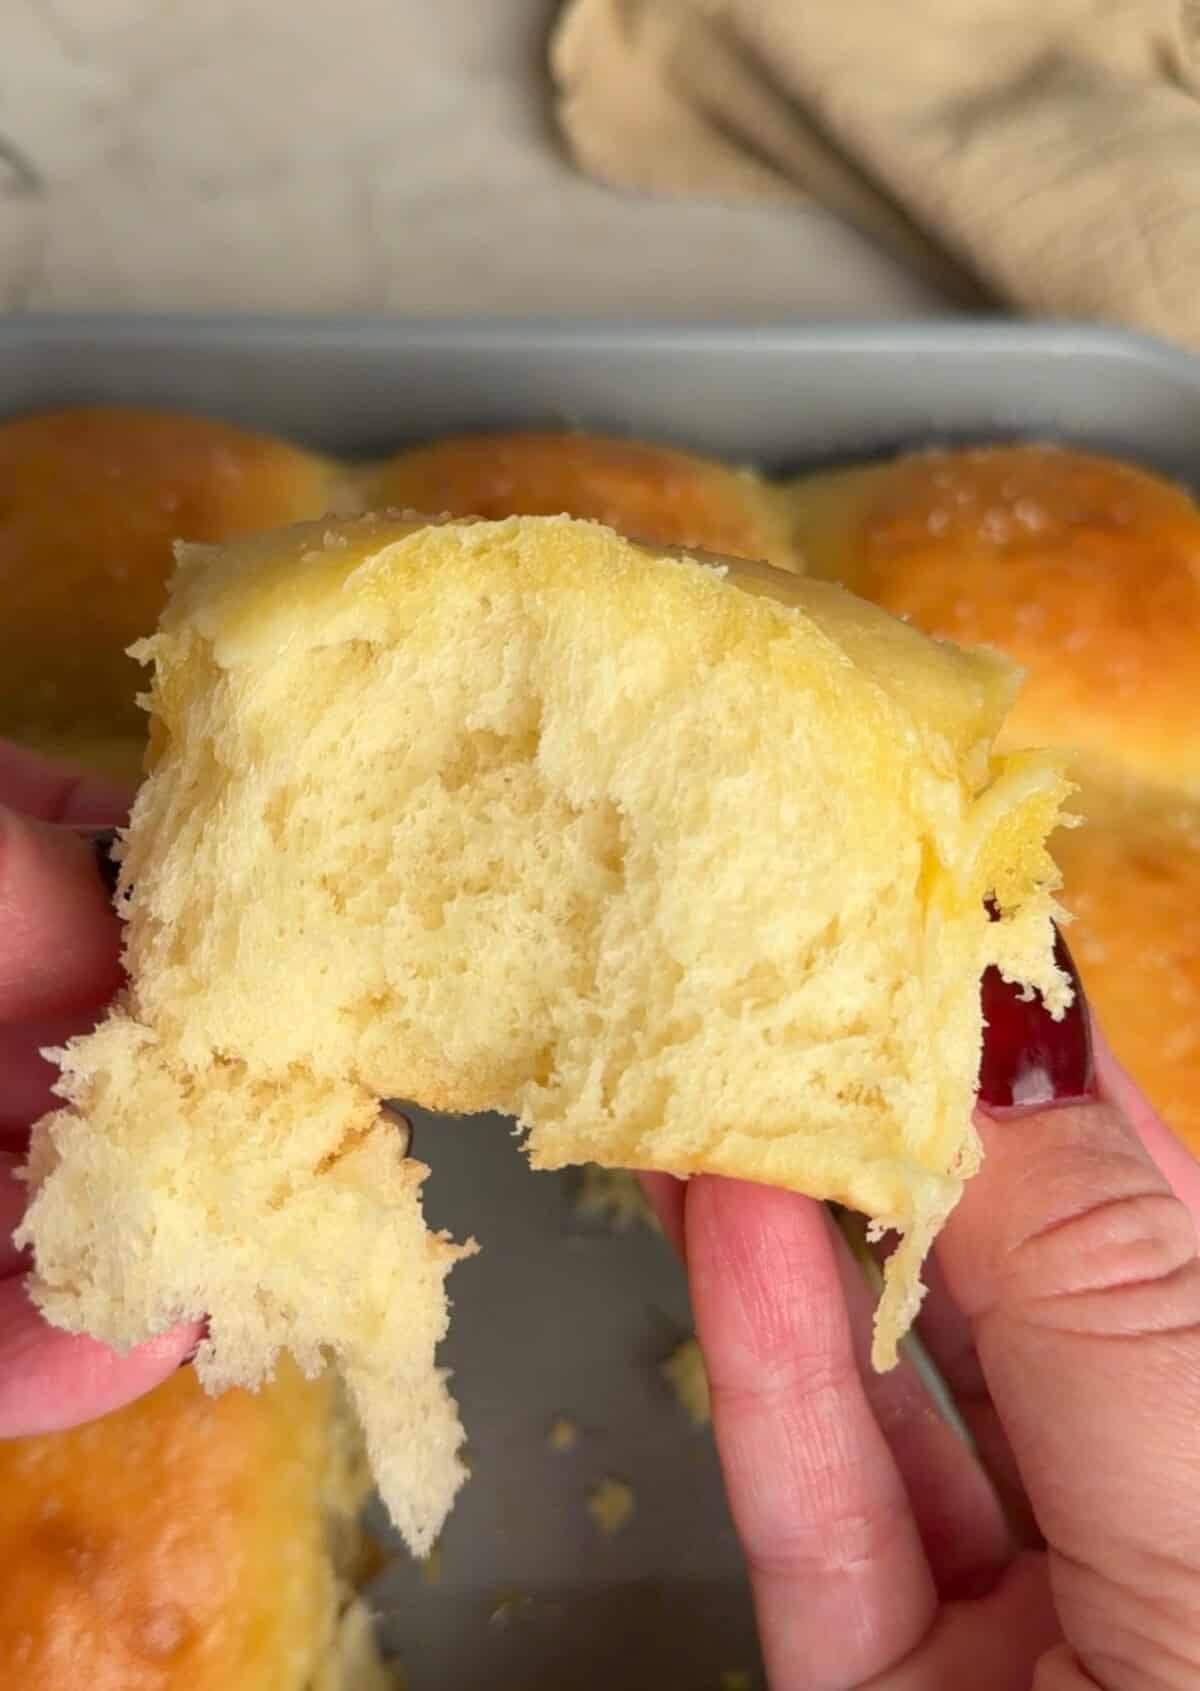
These Easy Yeast Rolls are everything you want in a homemade dinner roll: incredibly soft, fluffy, buttery, and golden on top, but without any kneading or stand mixer required! The dough comes together in minutes with just a bowl and a spoon, then rises into the most beautiful, pillowy rolls. They’re easy enough for beginner bakers and perfect for everything from weeknight dinners to Thanksgiving and holiday gatherings.
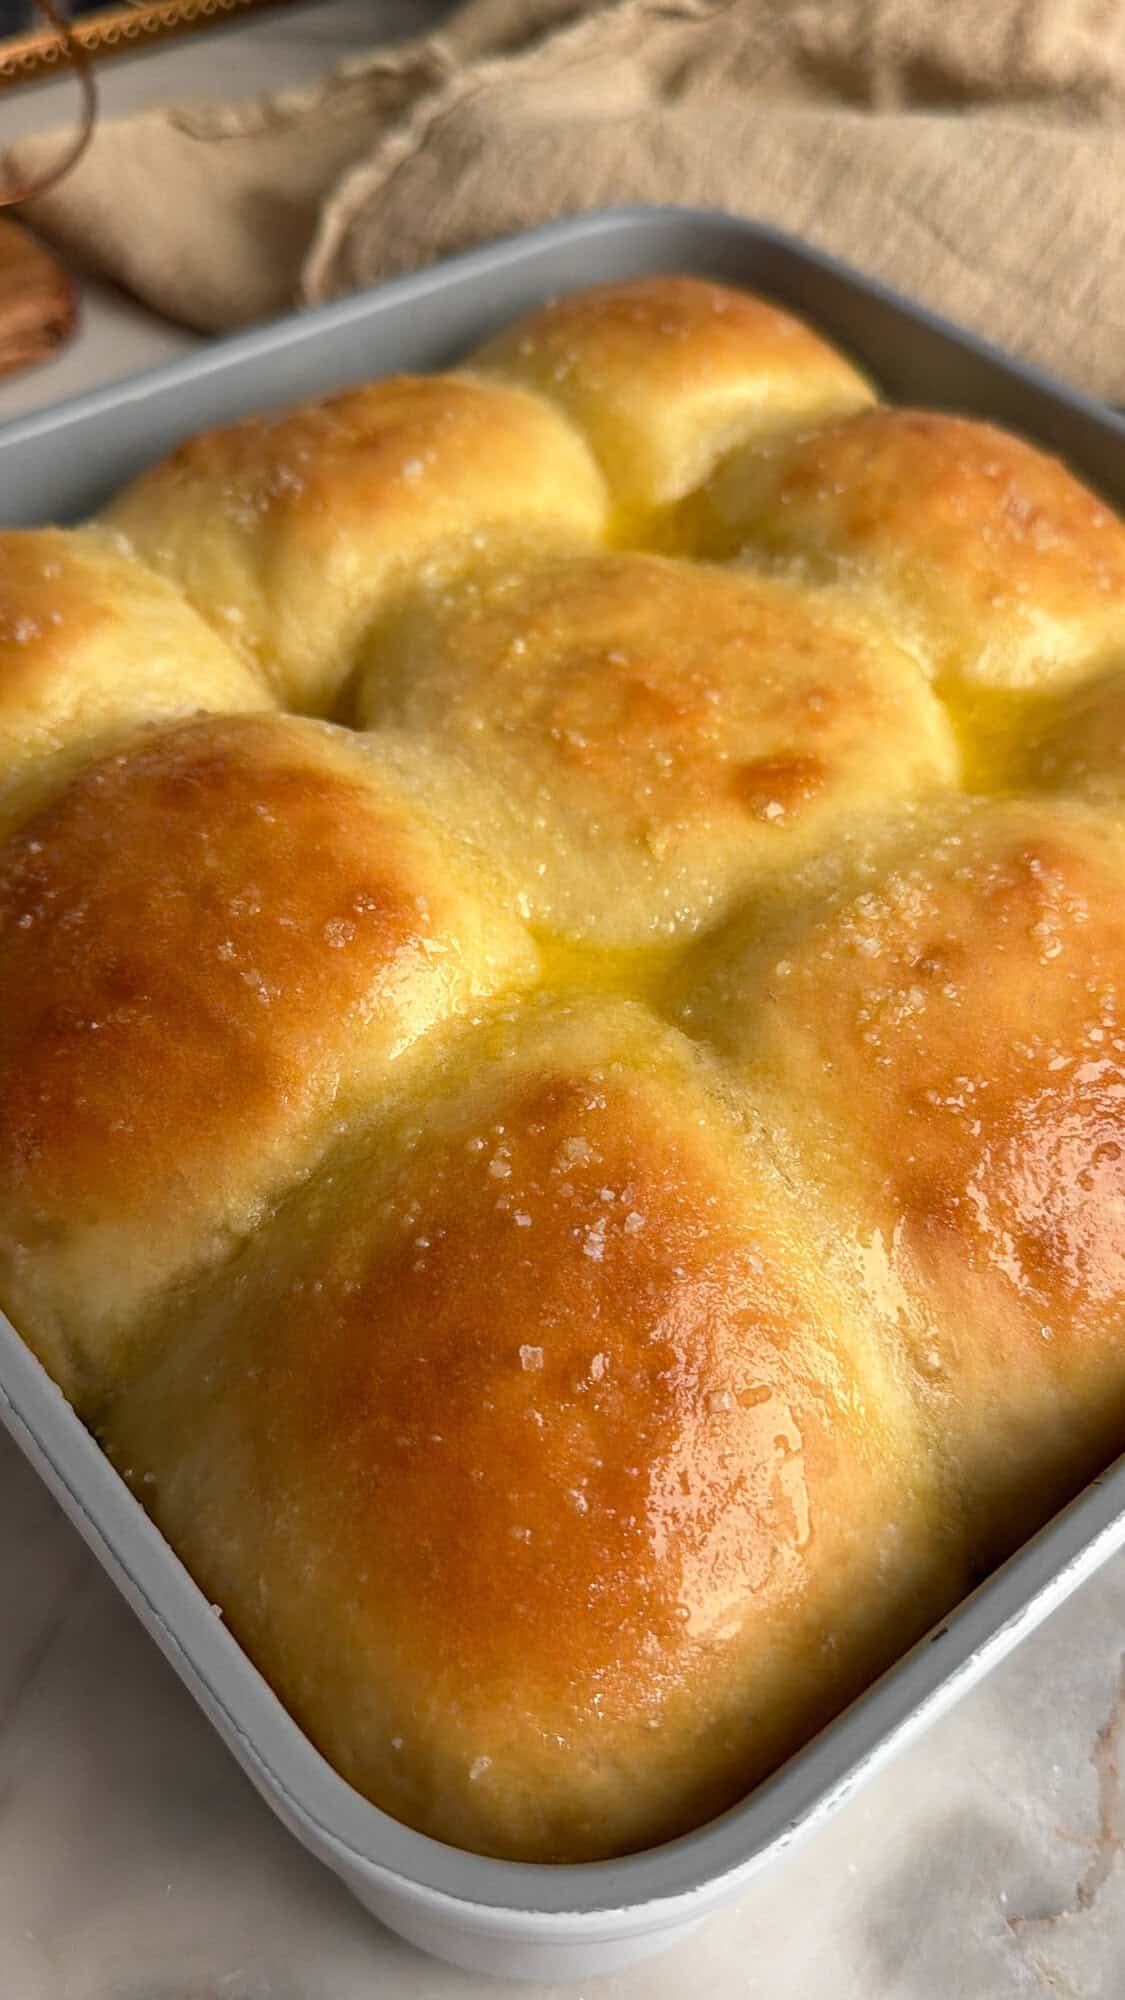
Homemade Soft Yeast Rolls Without the Work
There’s nothing quite like pulling apart a warm, freshly baked yeast roll and seeing that pillowy, soft, fluffy center. And while homemade bread can seem intimidating, these rolls prove you don’t need a stand mixer, complicated techniques, or even kneading to get incredible results.
This recipe uses a simple, stir-together dough that’s intentionally thick and sticky. Instead of kneading, you give the dough time to rise, allowing the yeast to do much of the work for you. After the first rise, the dough is gently shaped into rolls, left to rise once more, and baked until beautifully golden.
The result is a pan of soft, buttery dinner rolls that are just as good alongside a holiday feast as they are with a simple weeknight dinner.
Tips From My Kitchen
Use bread flour for the fluffiest rolls. While all-purpose flour works as a substitute, I prefer bread flour for its ability to create soft, airy rolls with a little more structure.
Get your liquid temperature right. Both the water and milk should be comfortably warm, similar to bathwater. Aim for 105–115°F, ideally around 110°F. Liquid that’s too hot can kill the yeast, while liquid that’s too cool will slow down the rising process.
Don’t add too much flour. This dough is supposed to be sticky! Adding extra flour to make it easier to handle can result in heavier, denser rolls. Save the additional flour for lightly dusting your hands and work surface when shaping.
Let the dough rise until it’s ready. The first rise should produce a noticeably expanded, bubbly dough, approximately triple its original size. Don’t rush the process just because the suggested time has passed.
Use a warm, draft-free spot. Yeast dough rises more efficiently in a comfortably warm environment. Avoid placing the bowl somewhere excessively hot, which can overheat the dough.
Shape the rolls gently. Gather and pinch the dough underneath, then use a light rolling motion to create a smooth surface. Avoid aggressively squeezing or compacting the dough.
Don’t skip the second rise. Giving the shaped rolls another 30–45 minutes to puff up helps create their soft, pillowy texture.
Brush with butter immediately. Melted butter adds flavor and helps soften the tops of the freshly baked rolls. A sprinkle of flaky sea salt makes them even better.
Ingredients You’ll Need & Why
These homemade yeast rolls use simple baking staples, but a few details make a big difference in how soft and fluffy they turn out.
- Active Dry Yeast: You’ll need 1 tablespoon, or approximately 1⅓ standard packets. Active dry yeast is activated in warm water with a little sugar before being added to the dough. Be sure you’re using active dry yeast rather than instant yeast for this recipe.
- Sugar: I use ⅓ cup sugar for a slightly sweet, buttery dinner roll. If you prefer a sweeter roll similar to King’s Hawaiian, you can increase the sugar to ½ cup. Just remember to take 2 teaspoons from your measured sugar to activate the yeast.
- Warm Water & Milk: Both liquids should be comfortably warm, like bathwater. I aim for approximately 110°F. Water helps activate the yeast, while milk adds richness and tenderness to the dough.
- Bread Flour: Four cups of bread flour give these rolls their beautifully soft, fluffy structure. All-purpose flour can be substituted, but I’ve found the rolls aren’t quite as fluffy. Keep a little extra flour nearby for dusting your work surface when shaping.
- Salt: Two teaspoons balance the sweetness and enhance the flavor of the rolls.
- Salted Butter: Melted and cooled butter adds richness and flavor to the dough. You’ll also need additional melted butter for brushing over the warm rolls after baking.
- Eggs: Two room-temperature eggs add richness, structure, and tenderness. Whisk them before adding them to the dough so they incorporate evenly.
- Flaky Sea Salt: A light sprinkle over the buttered rolls adds a delicious finishing touch and balances their slightly sweet flavor.
How to Make Easy Yeast Rolls
These no-knead yeast rolls are surprisingly simple to prepare. The most important things are using properly warmed liquids, allowing enough time for both rises, and handling the sticky dough gently when shaping.
Step 1: Activate the Yeast
Measure out your sugar and remove 2 teaspoons to use for activating the yeast.
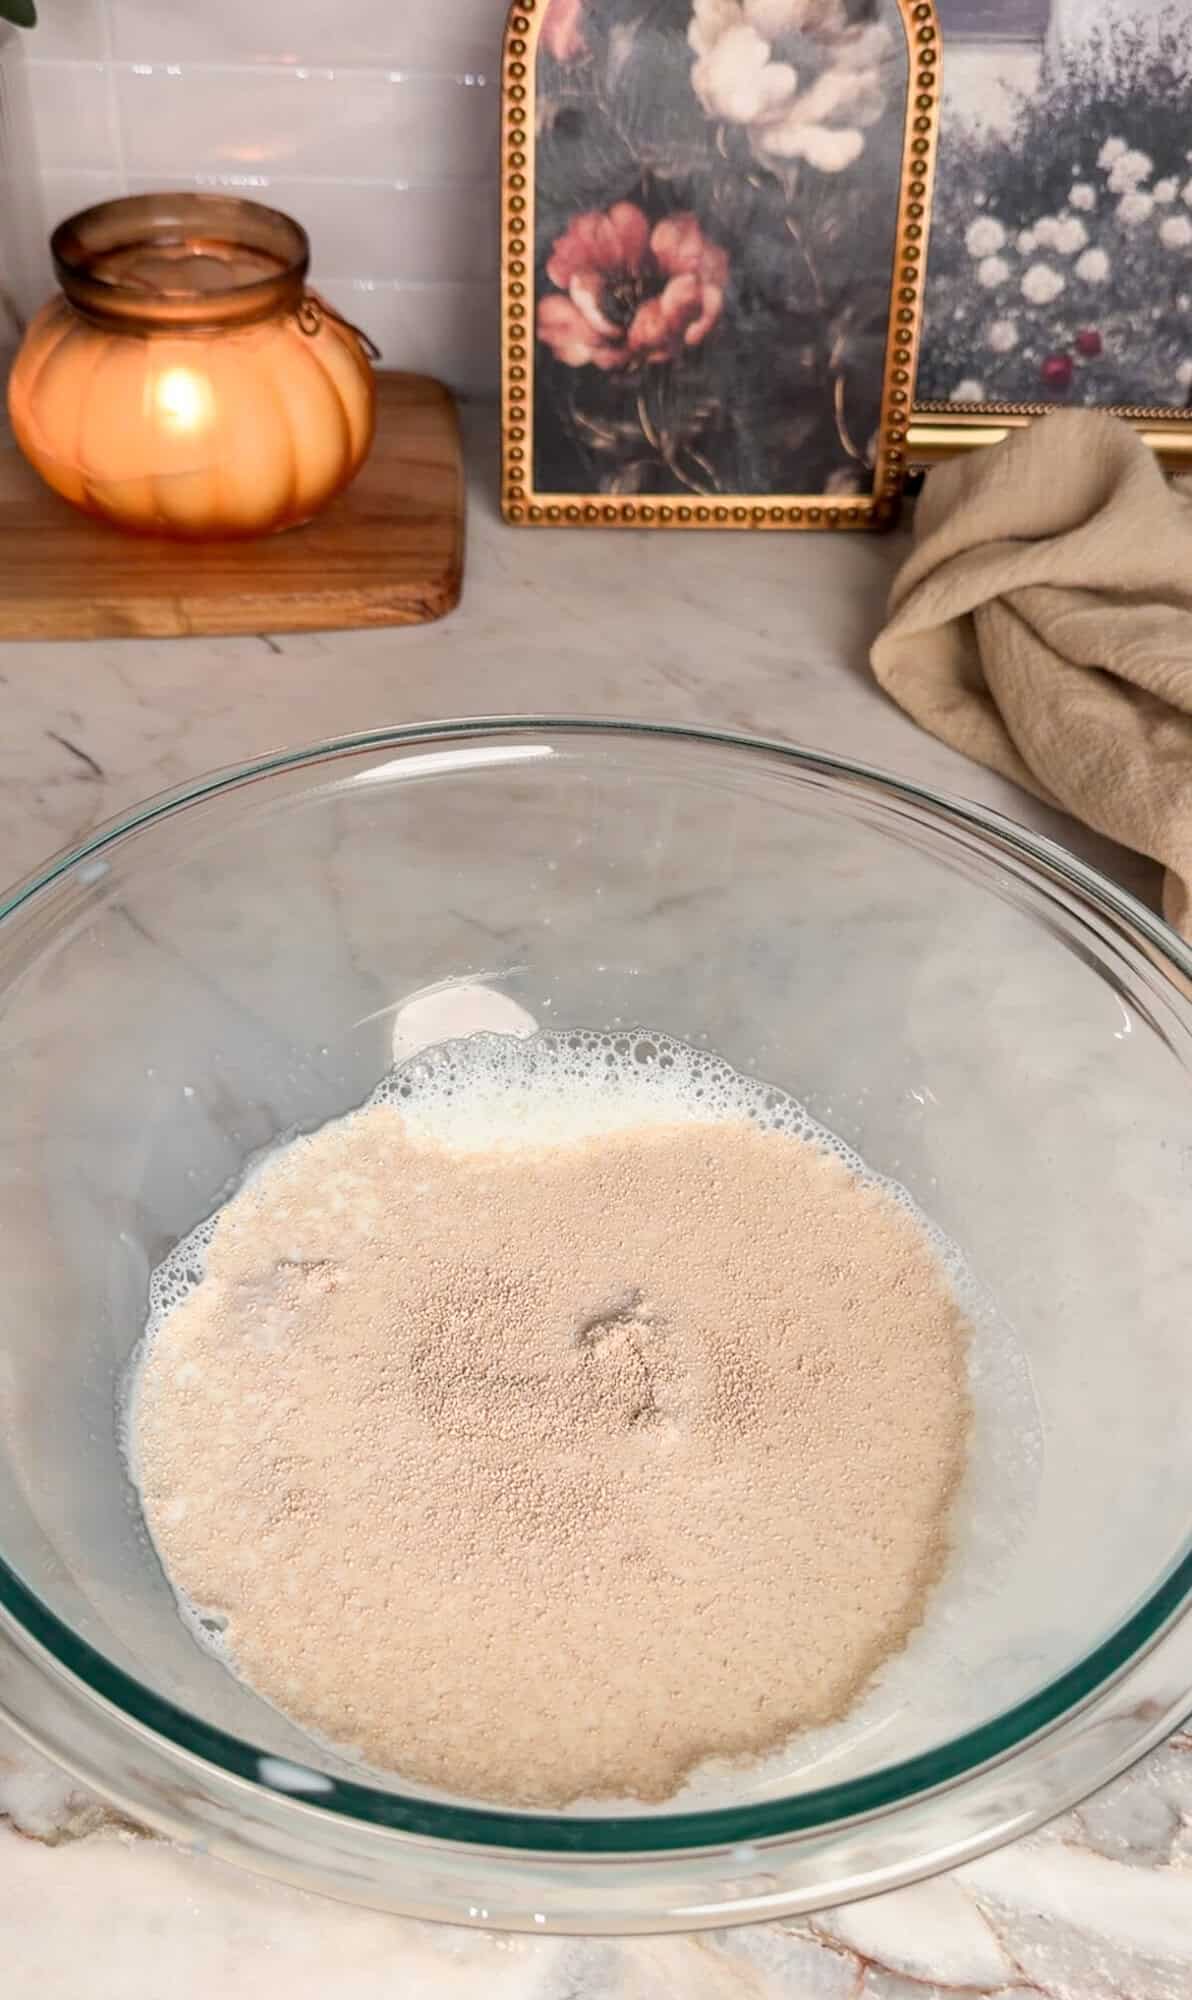
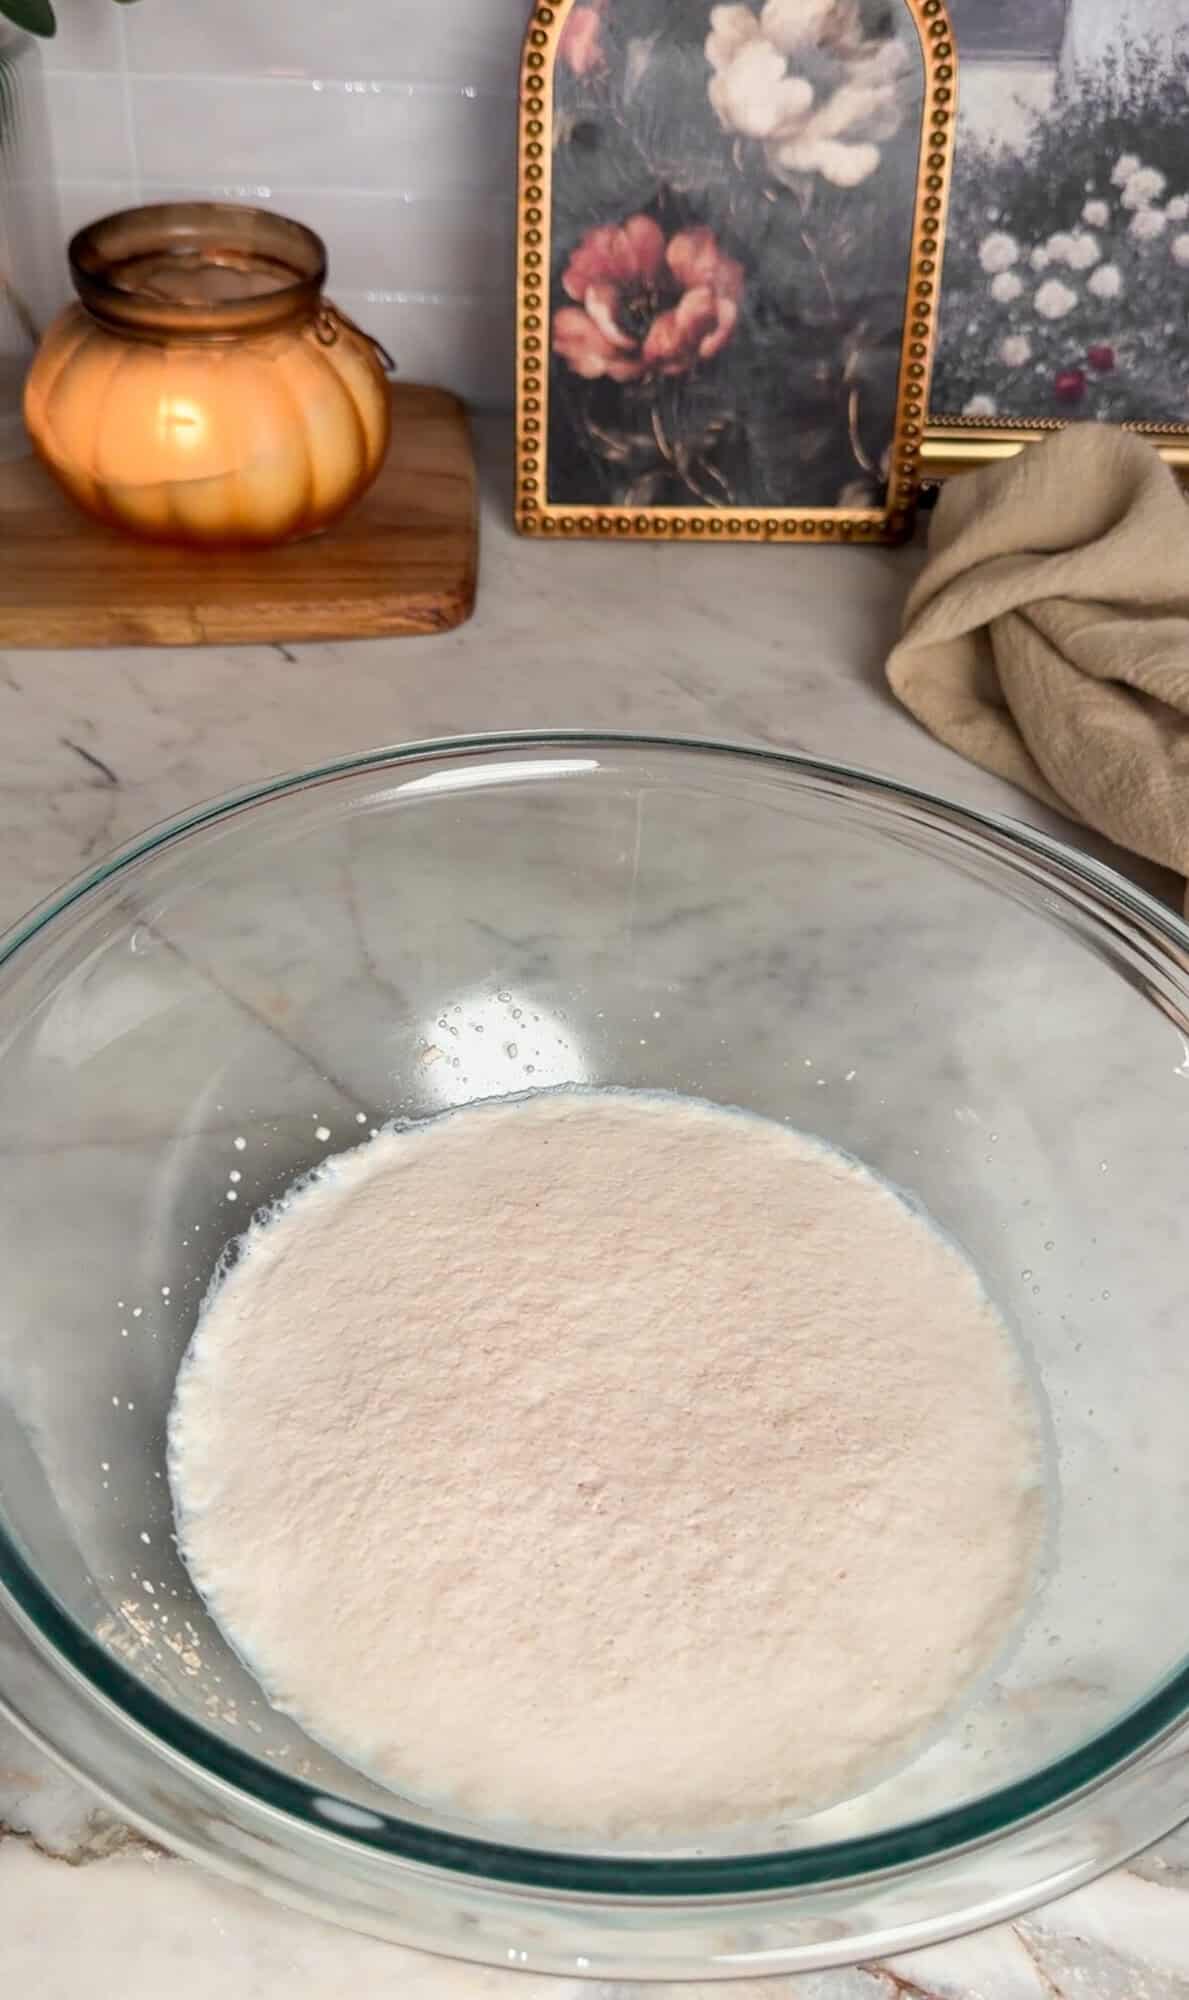
Add the active dry yeast and 2 teaspoons of sugar to a medium bowl. Pour the warm water over the top and leave it undisturbed for approximately 5 minutes, until the mixture becomes frothy.
My temperature tip: The water should feel comfortably warm, similar to bathwater. If you have a meat thermometer, aim for 105–115°F. I personally shoot for right around 110°F.
Water that’s too hot can damage or kill the yeast, while cooler water can significantly slow down activation.
If the yeast doesn’t become frothy, give it a few additional minutes. If there’s still no activity, check that your yeast is fresh and your water temperature is correct before proceeding.
Step 2: Mix the Dough
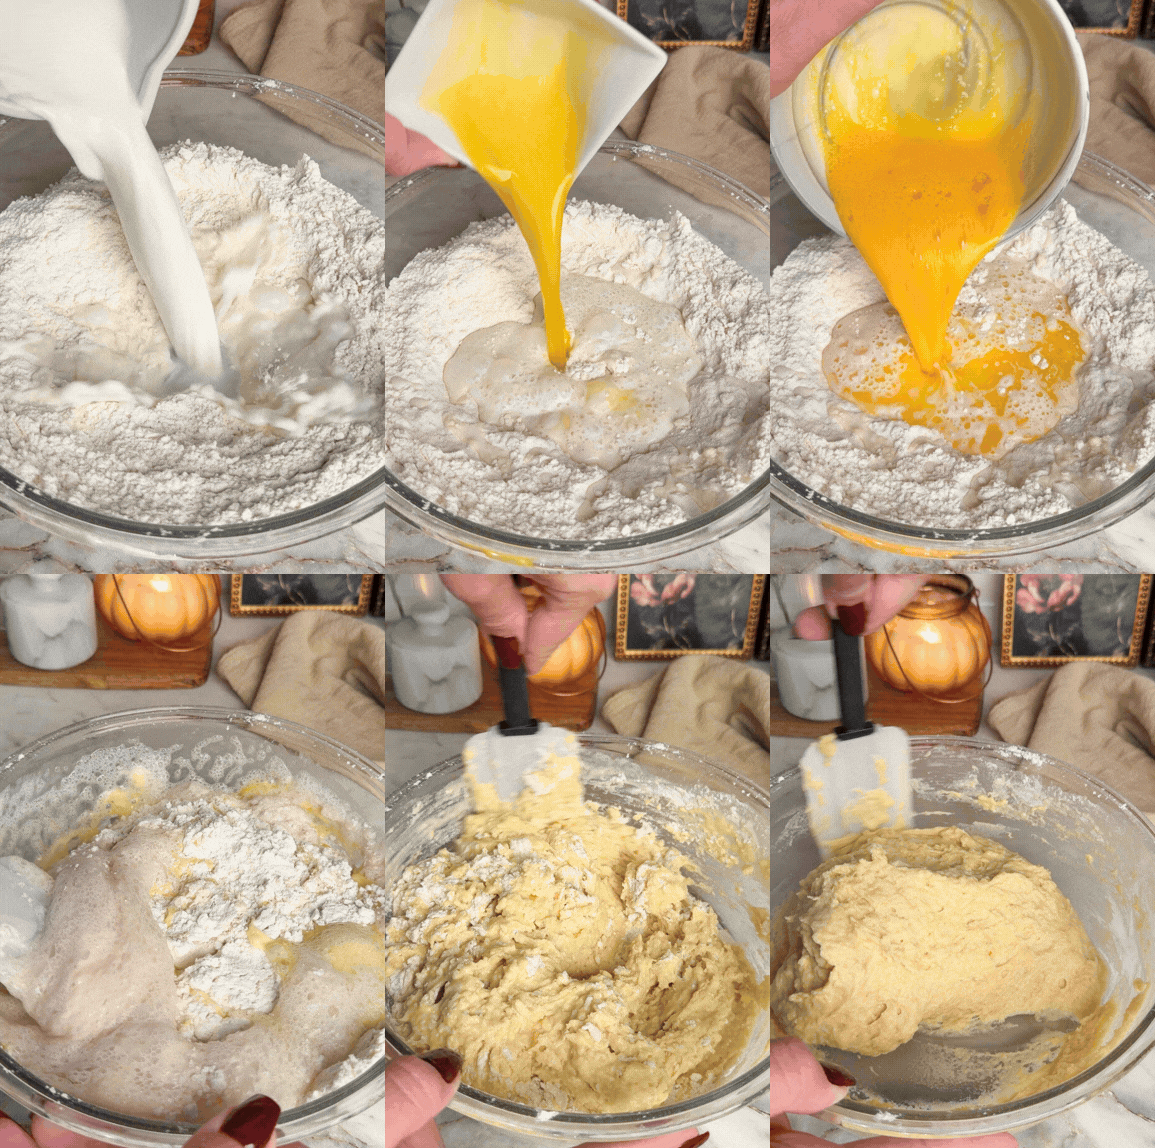
While the yeast activates, add the bread flour, remaining sugar, and salt to a large mixing bowl. Stir to combine.
Make a well in the center and add the warm milk, melted and cooled butter, whisked eggs, and activated yeast mixture, including all the froth.
Using a wooden spoon or sturdy spatula, stir until everything is thoroughly combined. Be sure to scrape the bottom of the bowl so there are no pockets of dry flour.
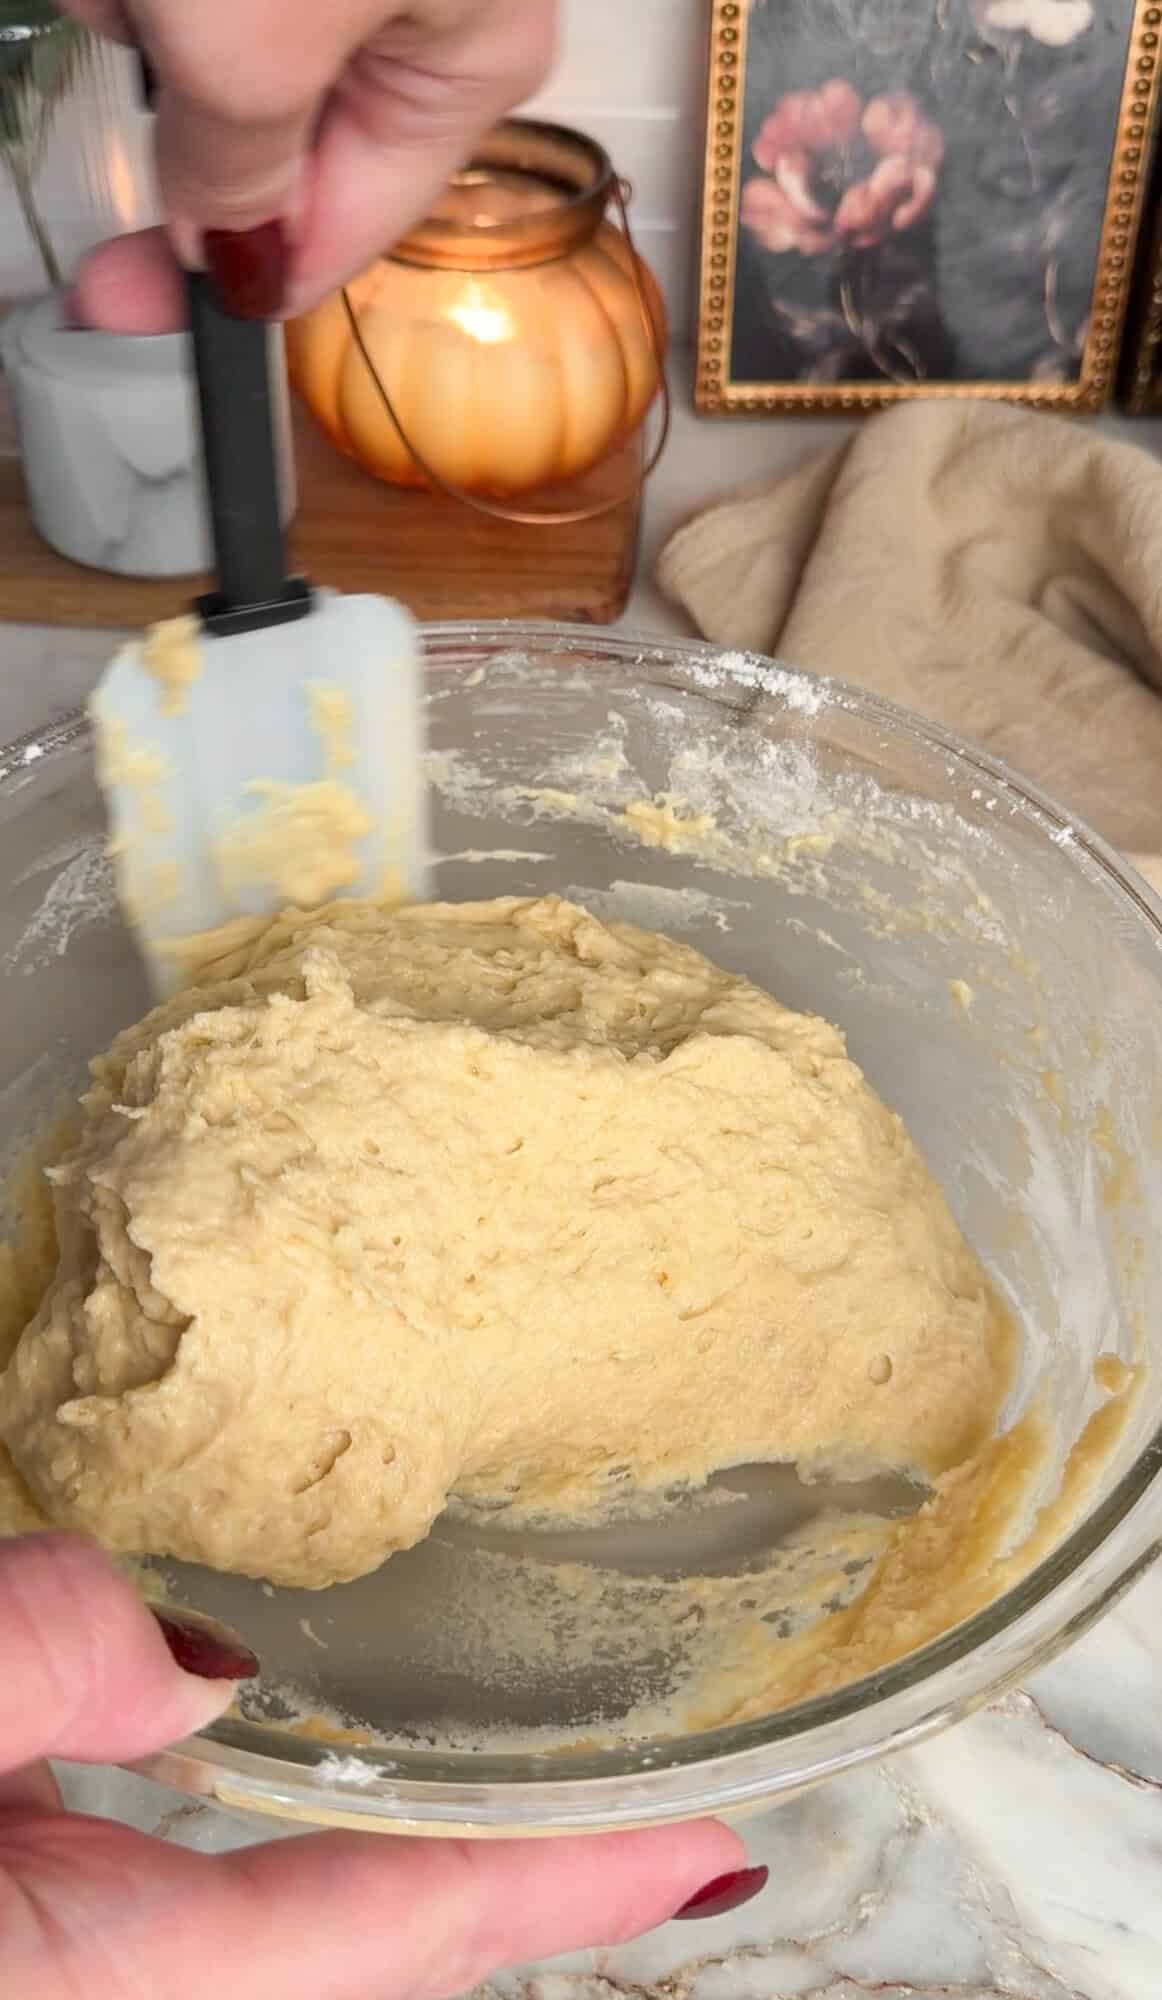
The dough will be thick, soft, and very sticky. That’s exactly what you want!
It won’t look like a traditional smooth, kneaded bread dough, and you shouldn’t be able to comfortably handle it with bare hands at this stage. Resist the temptation to add extra flour just to make it easier to work with.
Step 3: Let the Dough Rise
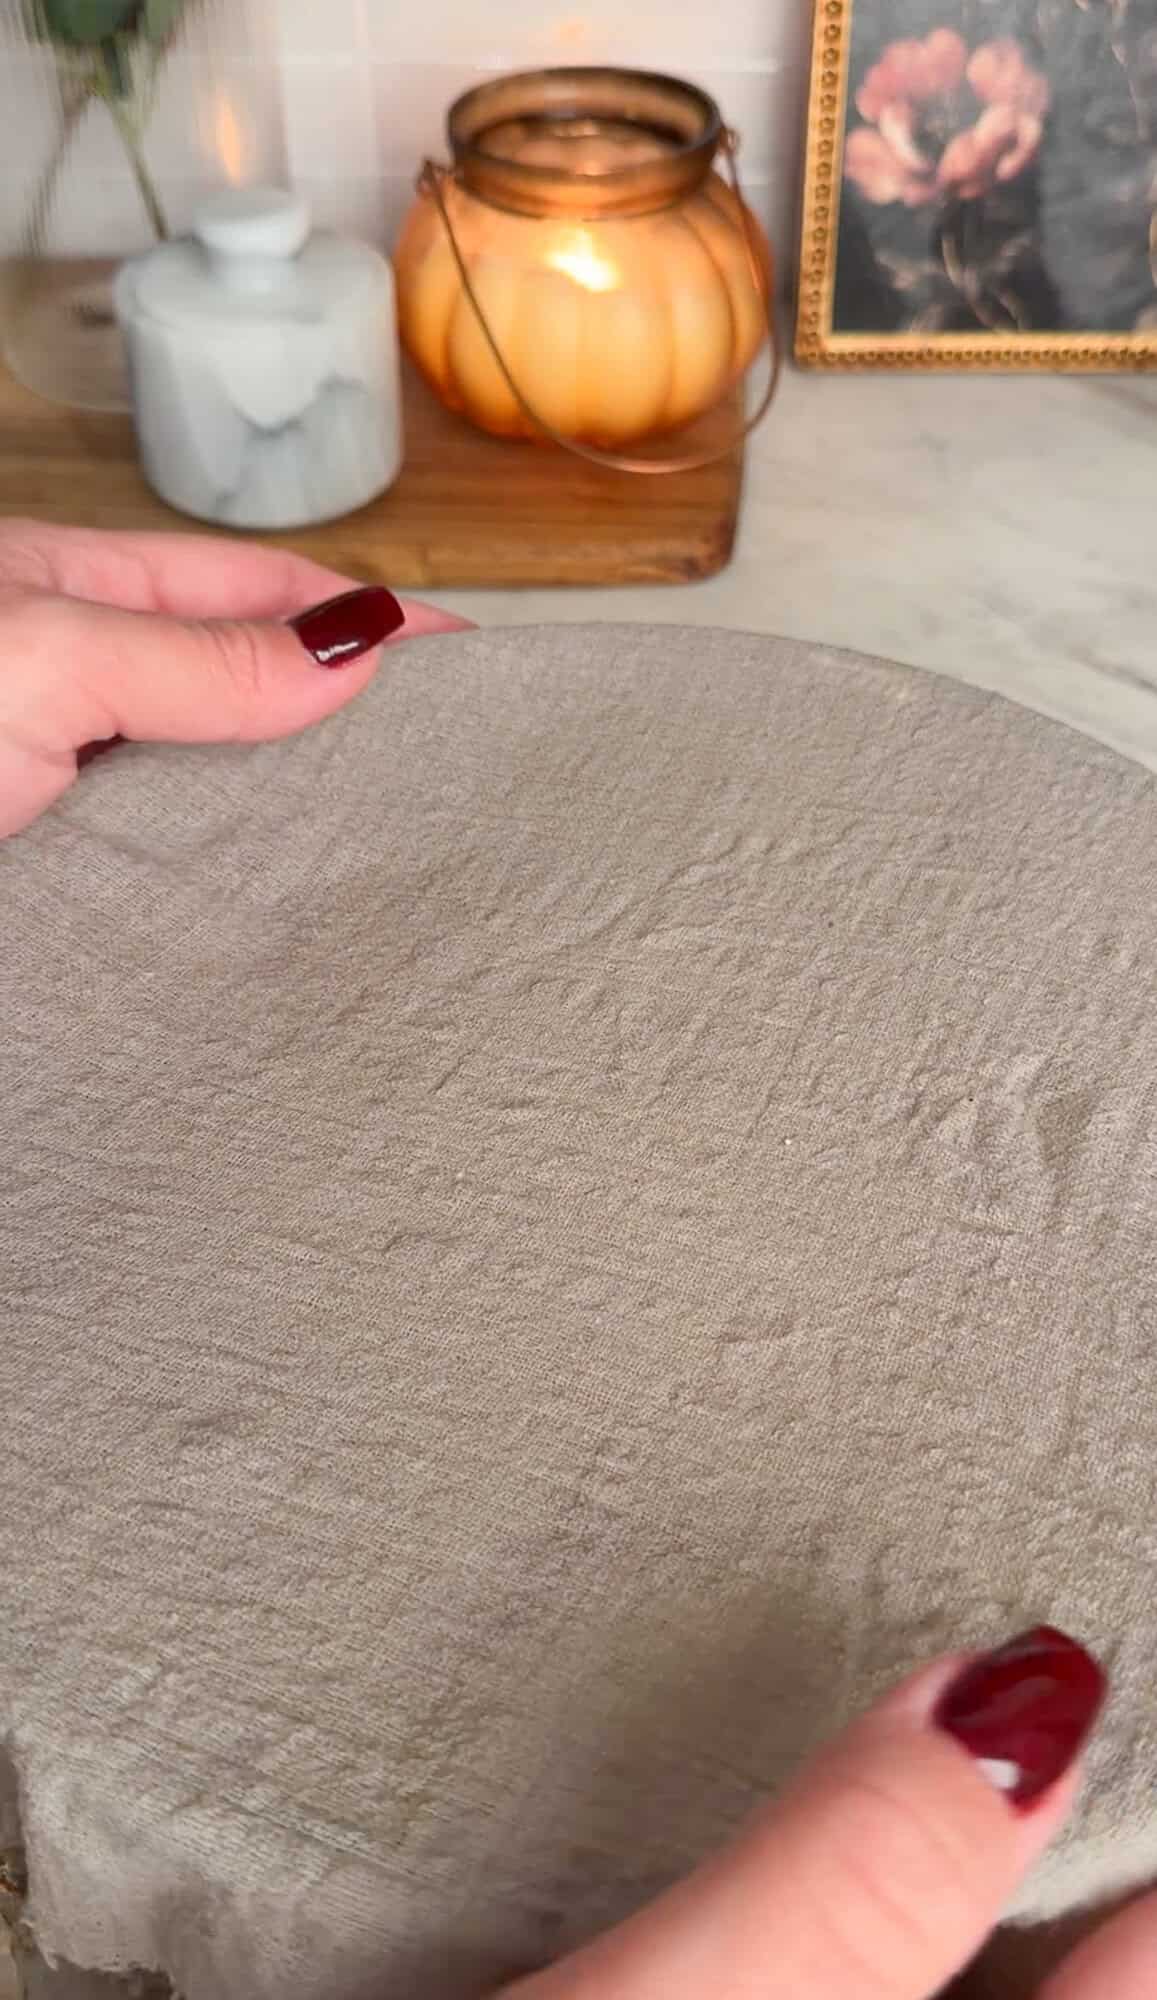
Leave the dough directly in the mixing bowl and cover it with a clean, damp kitchen towel.
Place the bowl somewhere comfortably warm and free from drafts. I like using a warm spot on the stovetop when the oven is running or on the counter above a running dishwasher.
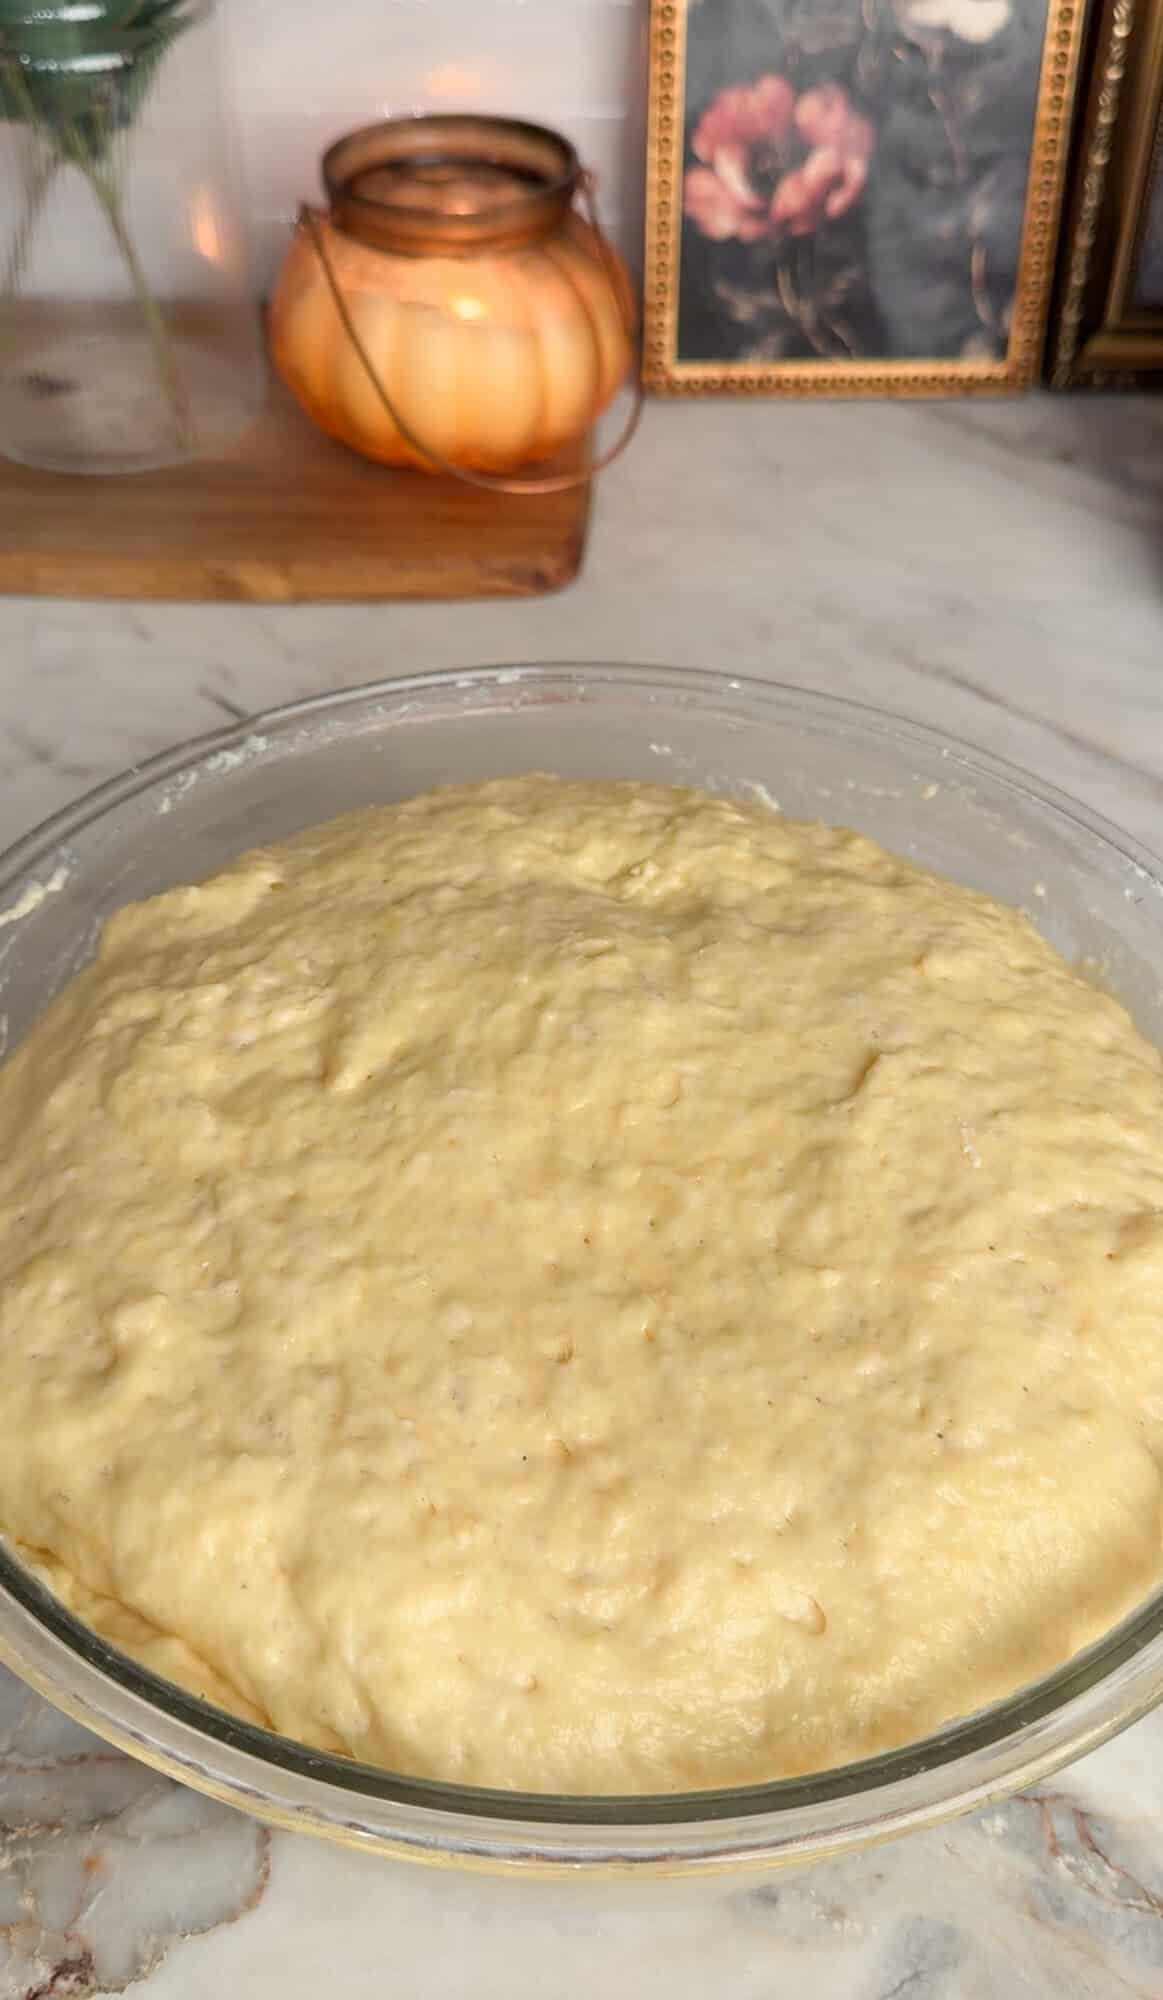
Allow the dough to rise for approximately 1 hour 45 minutes to 2 hours, or until it has roughly tripled in volume.
You’ll notice the dough becoming light and airy, with bubbles forming across the surface.
Go by the appearance of the dough, not just the clock. A cooler kitchen may require additional rising time, while a warmer environment can speed things up.
Step 4: Divide and Shape the Rolls
Lightly butter a 9×13-inch baking dish and preheat the oven to 350°F.
Once the dough has finished its first rise, gently punch it down to release the trapped air and stir it briefly.
Dust a clean work surface with flour, then turn the sticky dough onto the floured surface. Lightly dust the top of the dough as well.
Gently form it into a rough rectangle and divide it into 12 equal pieces.
For perfectly even rolls: You can weigh the entire batch of dough, divide that weight by 12, and portion each roll accordingly. This helps the rolls bake evenly and gives them a beautiful, uniform appearance.
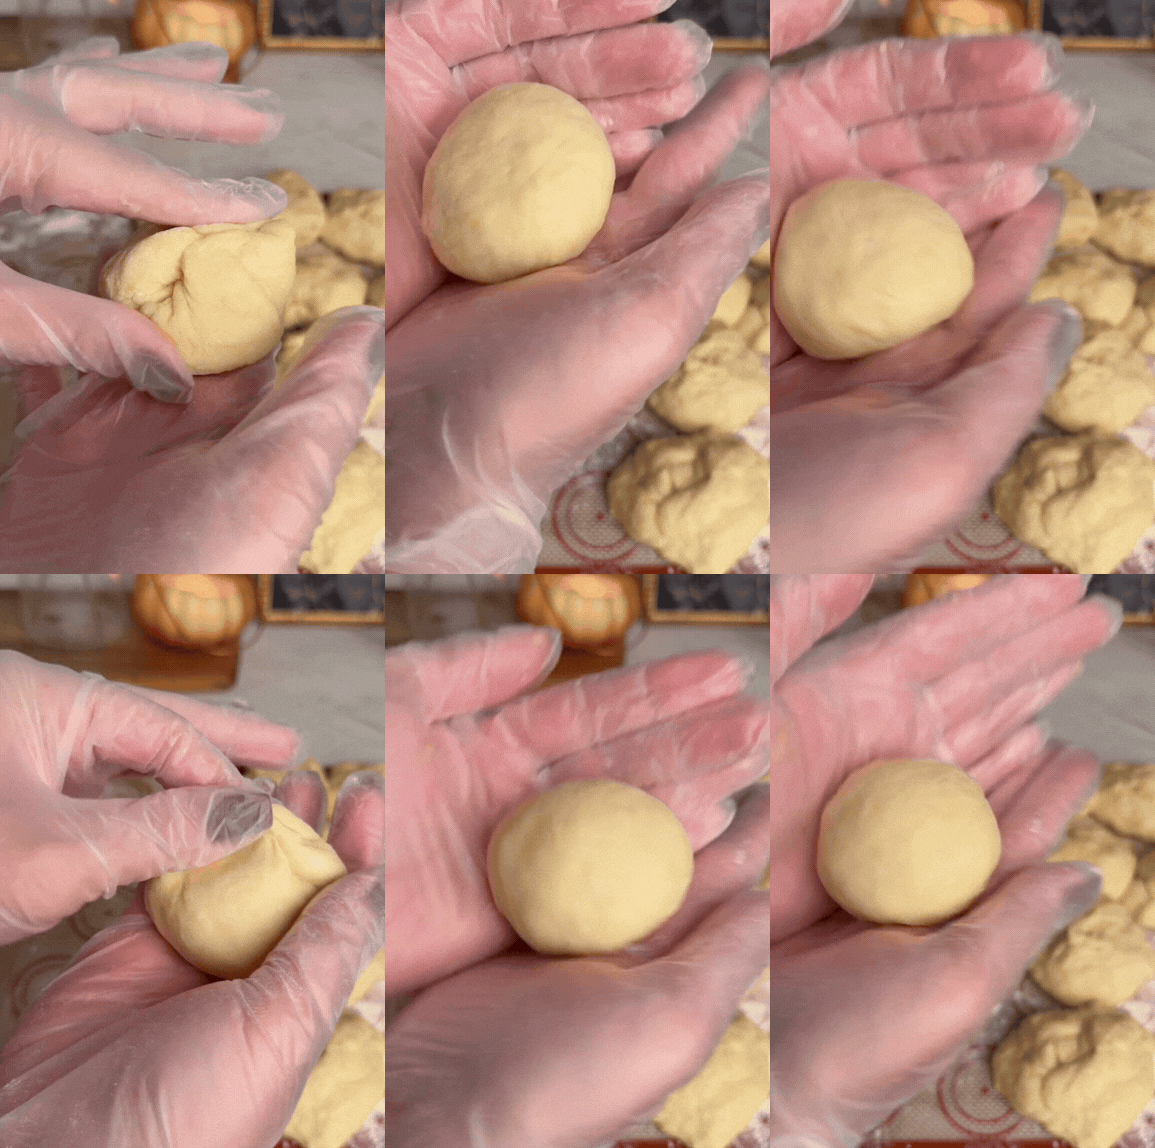
To shape each roll, gather the edges of the dough toward the center and pinch them together, almost like you’re folding and sealing a bao bun.
Turn the dough over so the pinched seam is underneath and the smooth surface is facing upward.
Next, gently cup the dough between your hands and use a light rolling motion to create a smooth, round ball.
The goal is to build a little surface tension without aggressively squeezing or overworking the dough.
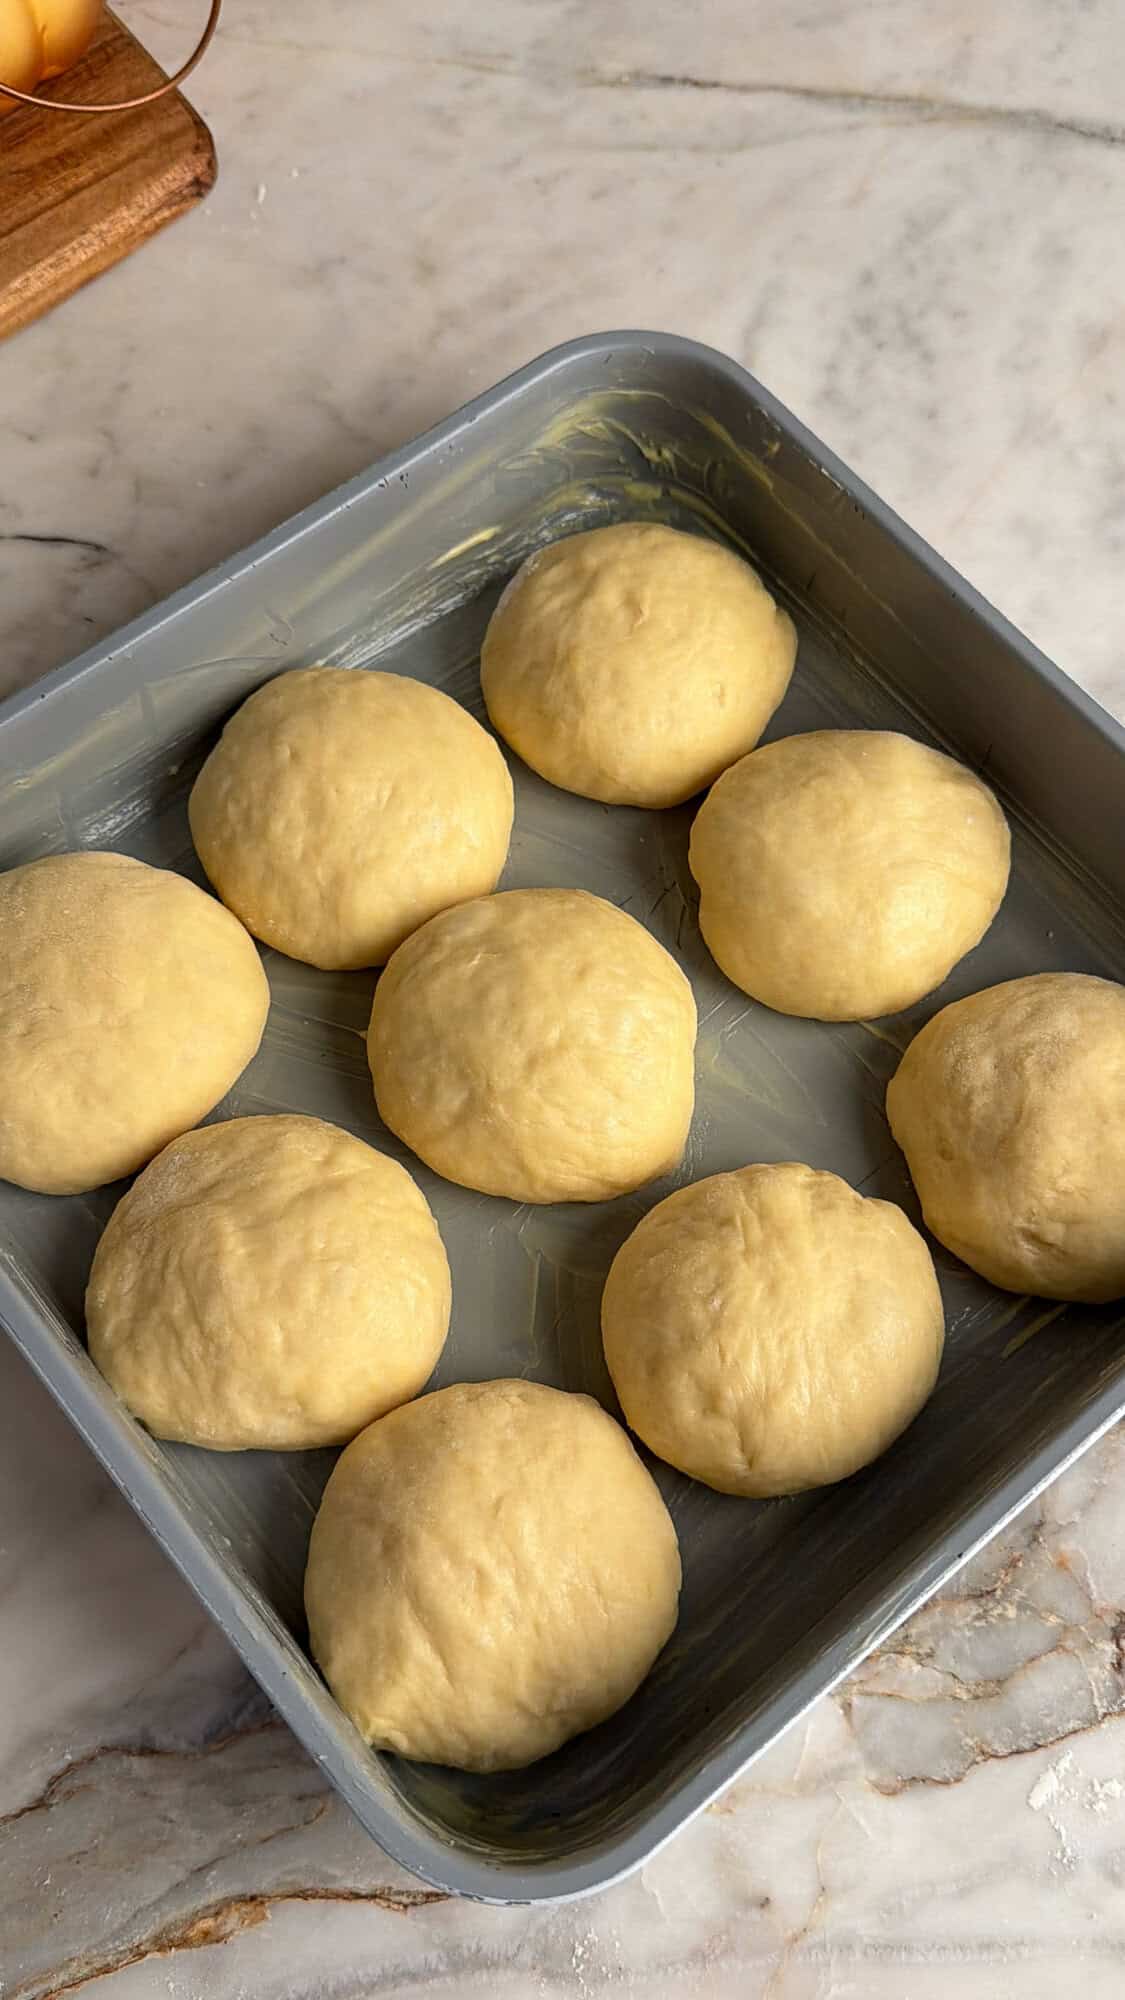
Place each shaped roll seam-side down in the prepared baking dish, arranging them evenly in three rows of four.
Don’t worry if the dough feels sticky. Use just enough flour on your hands and work surface to make shaping manageable. Adding too much flour can make the finished rolls heavier.
Step 5: Let the Rolls Rise Again
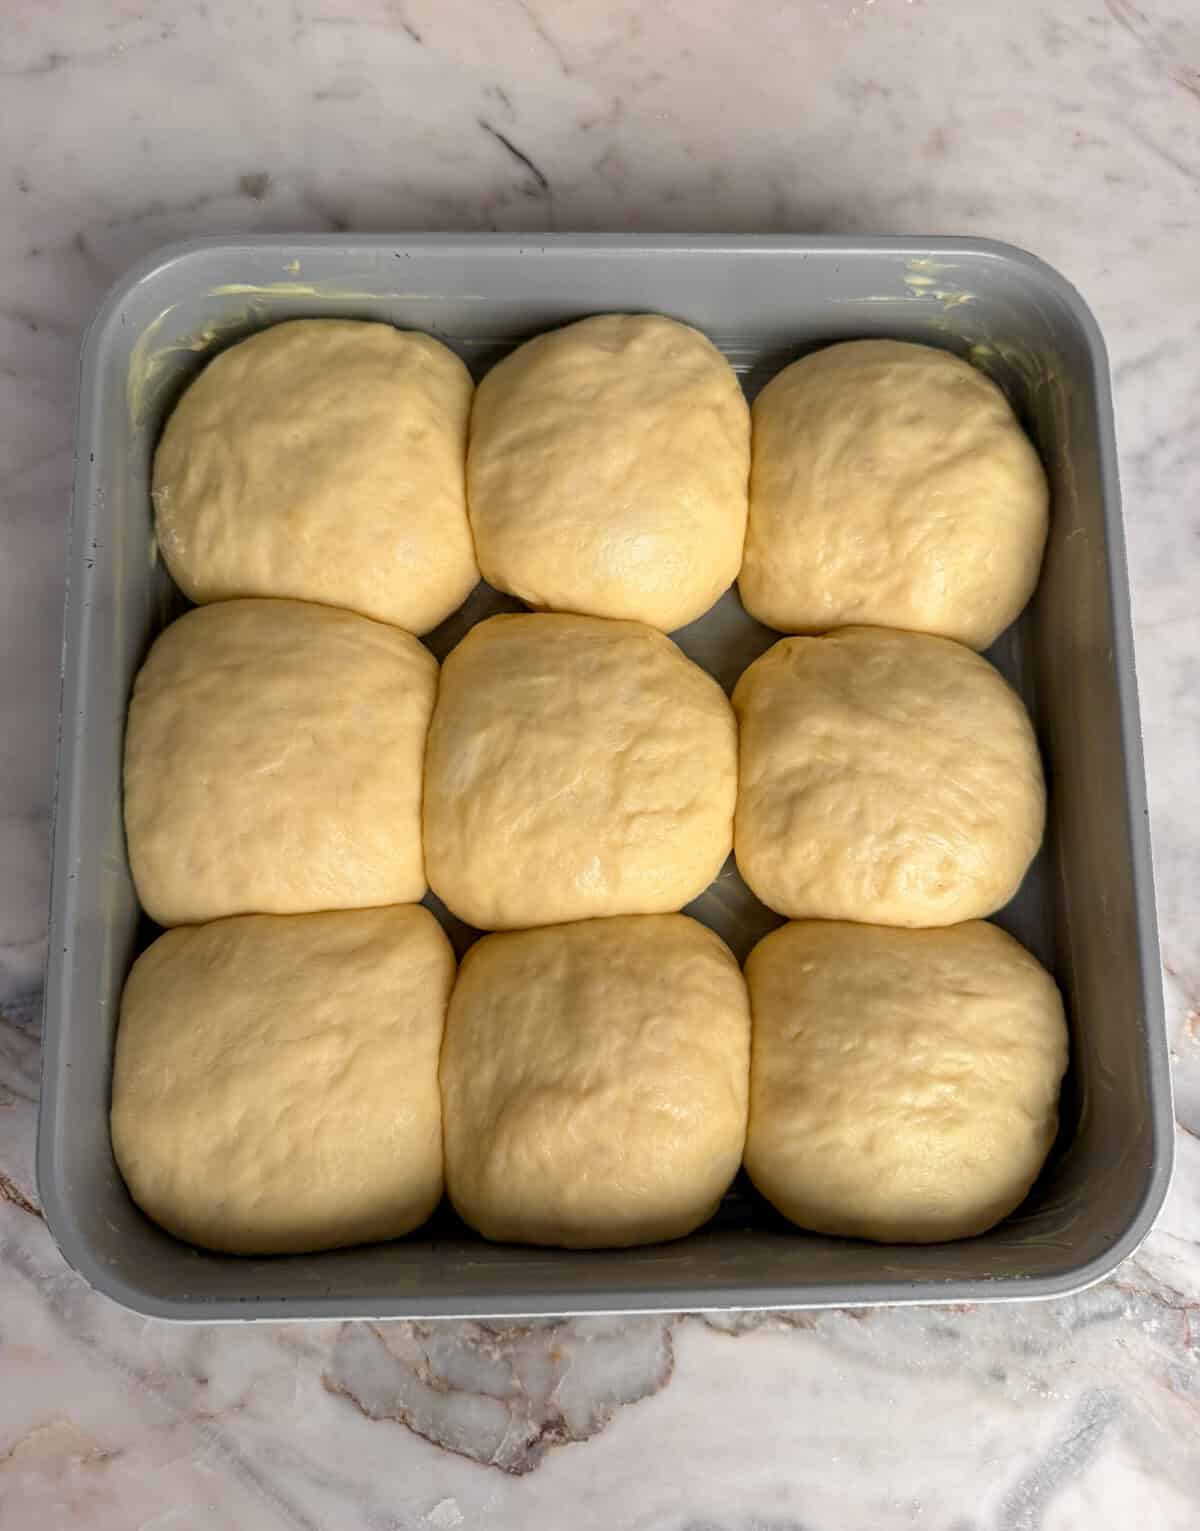
Return the baking dish to the same warm location and allow the shaped rolls to rise for approximately 30-45 minutes.
They should become noticeably puffy and begin touching one another.
This second rise is important for creating the light, airy texture you’re looking for. If the rolls haven’t puffed up sufficiently after 45 minutes, give them a little more time.
Step 6: Bake Until Golden
Place the baking dish in the preheated 350°F oven and bake for approximately 15–18 minutes, or until the tops are golden brown.
Rotate the pan around the 12-minute mark to encourage even browning.
The rolls should be beautifully golden on top and baked through in the center. If they’re browning unevenly, rotating the pan can help.
Step 7: Brush with Butter and Serve
Remove the rolls from the oven and immediately brush the tops generously with melted butter.
Finish with a light sprinkle of flaky sea salt.
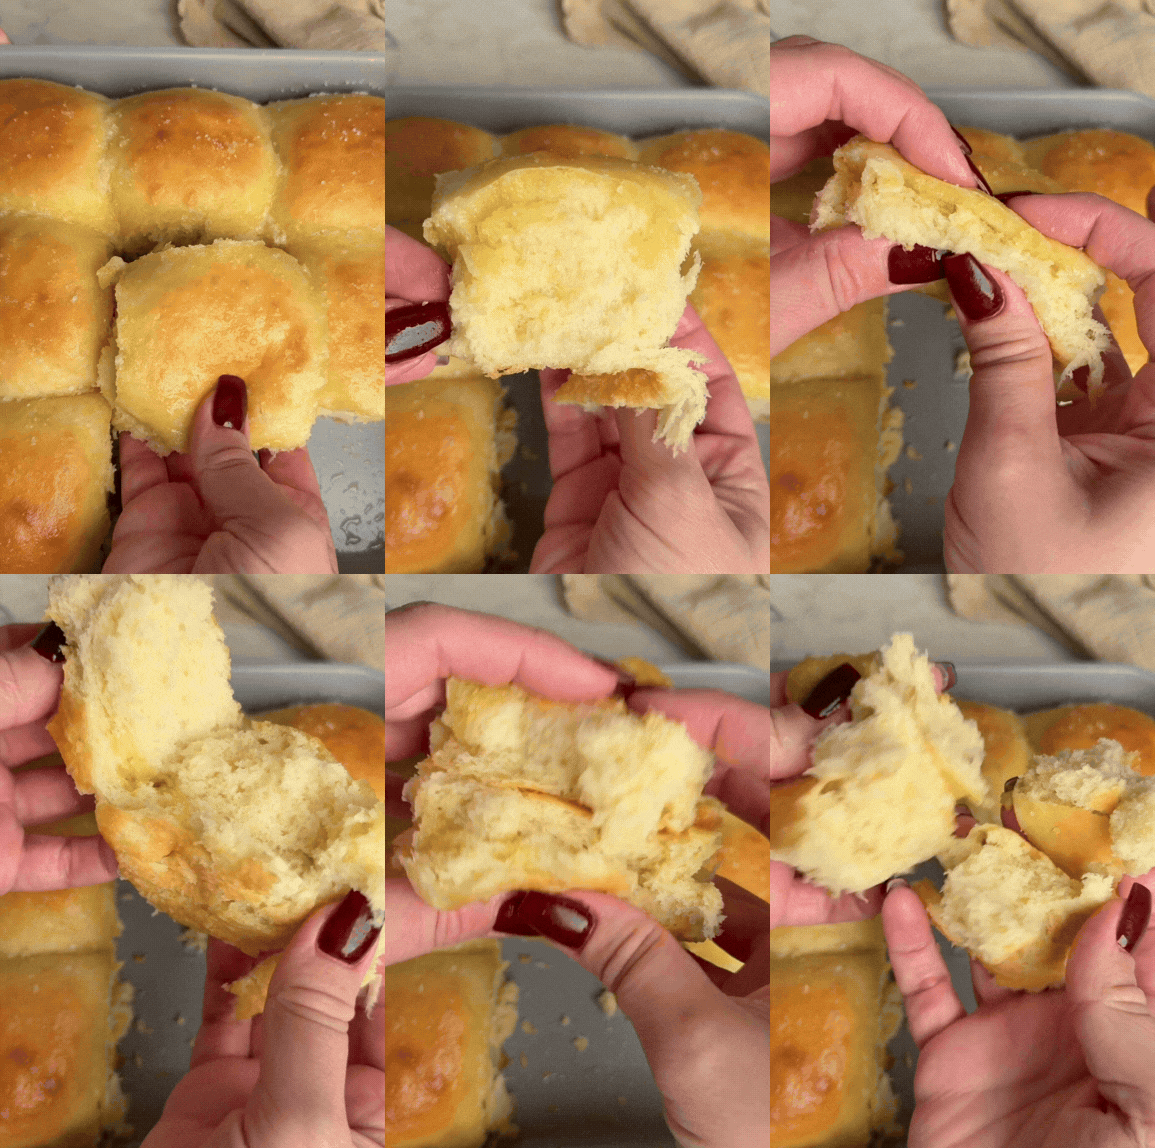
Allow the rolls to cool in the pan for approximately 5–10 minutes before separating them and transferring them to a cooling rack.
These yeast rolls are especially delicious served warm, when the centers are soft and fluffy and the buttery tops are still fresh from the oven.
Can You Use All-Purpose Flour Instead of Bread Flour?
Yes! You can substitute all-purpose flour for the bread flour in this recipe.
However, bread flour is my preferred choice because it produces the fluffiest results.
Bread flour has a higher protein content than all-purpose flour, which helps create a stronger gluten network capable of trapping the gases produced by yeast.
This is especially helpful in a no-knead recipe, where the dough develops structure during the rising process rather than through traditional kneading.
All-purpose flour can still produce delicious, soft rolls, but the texture may be slightly less airy.
If you’re making these for the first time, I recommend using bread flour for the best results.
Can You Make These Yeast Rolls Sweeter?
Absolutely! For a classic, slightly sweet dinner roll, I use ⅓ cup sugar.
If you prefer sweeter, bakery-style rolls with a sweetness similar to King’s Hawaiian bread, increase the sugar to ½ cup.
The additional sugar gives the rolls a more noticeable sweetness while still keeping them soft and buttery.
You can serve the sweeter version with honey butter or simply enjoy them warm with a little salted butter.
How Do You Know When Yeast Rolls Have Risen Enough?
Because these rolls are made without kneading, allowing the dough to rise properly is especially important.
During the first rise, look for dough that has expanded to approximately three times its original volume. The surface should appear bubbly, and the dough will look light and airy.
During the second rise, the individual dough balls should become noticeably larger, puffy, and begin touching one another in the baking dish.
The suggested rising times are a guide, but the temperature of your kitchen can make a big difference.
If your dough is rising slowly, move it to a slightly warmer location and give it additional time.
Avoid rushing the second rise, since underproofed rolls can bake up denser than expected.
Can You Make Yeast Rolls Ahead of Time?
Yes, although these rolls are at their absolute best when freshly baked.
For holiday meals, my preferred approach is to prepare and bake them earlier in the day, then gently reheat them just before serving.
You can also bake them the day before and store them tightly covered at room temperature.
To refresh the rolls, warm them briefly in the microwave or place them in a covered baking dish in a low oven until heated through.
For the best results, brush with a little additional melted butter before serving.
Note: Refrigerating the unbaked dough overnight would require adjusting the proofing schedule. That variation hasn’t been tested as part of this recipe, so I recommend following the original method when making these for an important occasion.
How to Store and Reheat Yeast Rolls
Room Temperature: Store completely cooled rolls in an airtight container or tightly sealed bag at room temperature for up to 2 days.
Reheating: The rolls naturally firm up after the first day, but approximately 15 seconds in the microwave helps bring back their soft, fluffy texture. Adjust the time depending on how many rolls you’re reheating.
Freezing: For longer storage, wrap completely cooled rolls individually and place them in a freezer-safe bag for up to 2 months. Thaw before gently reheating. This is an optional storage method rather than a separately tested make-ahead variation.
More Recipes to Try
These soft, buttery yeast rolls deserve a spot alongside your favorite comfort foods! For a classic holiday spread, serve them with my Cajun Turkey, a flavorful twist on traditional Thanksgiving turkey, and a generous helping of creamy, cheesy Mac and Cheese. It’s the kind of meal that practically begs for an extra dinner roll to soak up every last bite.
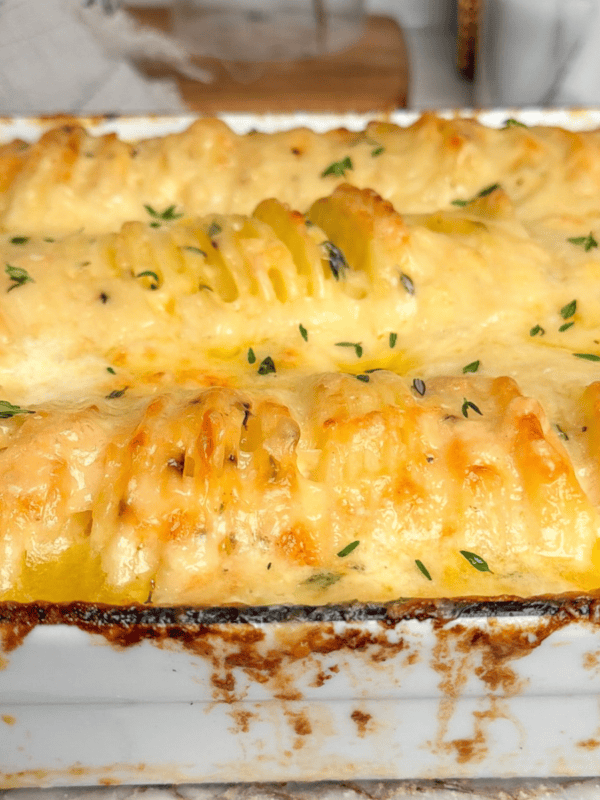
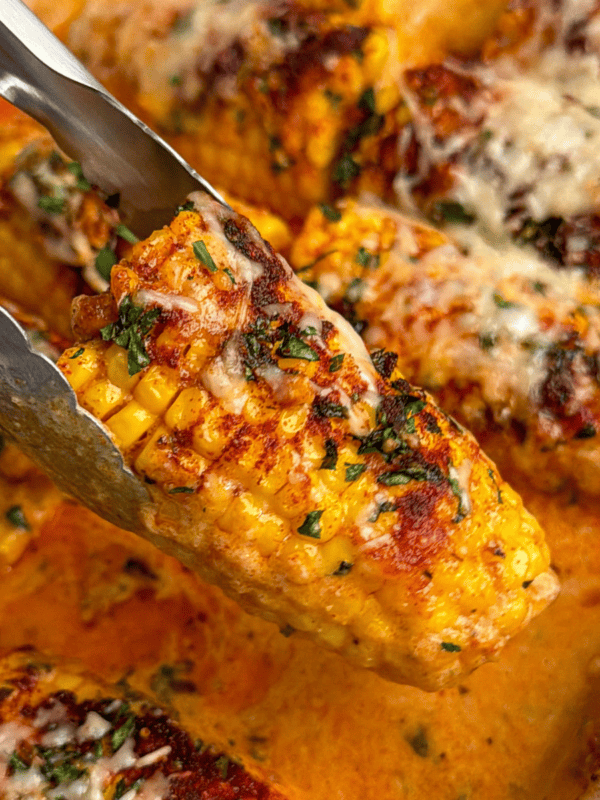
For more crowd-pleasing sides, my Slow Cooker Creamed Corn is an easy, hands-off favorite that keeps your oven free, while Potatoes Dauphinois bring layers of tender potatoes baked in a rich, creamy sauce.
And no holiday table is complete without something a little sweet! My Sweet Potato Casserole is another delicious addition that pairs perfectly with these homemade yeast rolls.
Made This Recipe?
If you make these Easy Yeast Rolls, I’d love to hear how they turned out! Leave a comment and a star rating below to let me know what you think. And if you share them on Instagram, tag @BadBatchBaking and use #badbatchbaking so I can see your delicious creations!
Easy No-Knead Yeast Rolls Recipe
Ingredients
- 1 tbsp active dry yeast approximately 1⅓ standard packets
- 1/3 cup granulated sugar or 1/2 cup for sweeter rolls
- 1/2 cup warm water 105–115°F
- 4 cups bread flour plus extra for dusting
- 2 tsp salt
- 1 cup milk warmed to 105–115°F
- 4 tbsp salted butter melted and cooled
- 2 large eggs room temperature and whisked first
For Finishing
- 2 tbsp salted butter melted, for brushing
- Flaky sea salt for sprinkling
Instructions
- Activate the yeast. Measure the sugar and remove 2 teaspoons for the yeast mixture. Add the active dry yeast and reserved sugar to a medium bowl. Pour in ½ cup warm water (ideally 110°F) and let stand for about 5 minutes, until the surface becomes foamy and frothy. If the yeast doesn't foam, give it a few more minutes before checking whether it's still active.
- Mix the dough. In a large mixing bowl, stir together the bread flour, remaining sugar, and salt. Make a well in the center and add the warm milk (about 110°F), melted and cooled butter, whisked eggs, and activated yeast mixture. Stir thoroughly with a wooden spoon or sturdy spatula, scraping the bottom and sides of the bowl until no dry flour remains. The dough should be thick, soft, and very sticky. **Do not knead or add extra flour to make it smooth.**
- First Rise. Leave the dough in the mixing bowl and cover with a clean, damp kitchen towel. Place in a comfortably warm, draft-free location for approximately 1 hour 45 minutes to 2 hours. The dough should roughly triple in size, with visible bubbles across the surface. If it hasn't risen enough, give it additional time.
- Prepare the pan and divide the dough. Lightly butter a 9×13-inch baking dish. Gently punch down the risen dough and stir briefly to release excess air. Turn onto a generously floured work surface, lightly dust the top, and gently shape into a rough rectangle. Divide into 12 equal portions using a bench scraper or knife. For uniform rolls, weigh the dough and divide the total weight by 12.
- Shape the rolls. Working with one portion at a time, gather the outer edges of the dough toward the center and pinch them together, similar to closing a bao bun. Flip the dough over so the pinched seam is underneath. Gently cup and round it between your hands to create a smooth, slightly taut top. Place seam-side down in the prepared dish, arranging the rolls in 3 rows of 4. Use a little flour on your hands if needed, but avoid working too much into the dough.
- Second rise. Cover the baking dish loosely and return it to a warm location for 30–45 minutes, until the rolls look noticeably larger and puffy and are touching one another (see photos). Toward the end of the rise, preheat the oven to 350°F.
- Bake the rolls. Bake at 350°F for approximately 15–18 minutes, rotating the pan around the 12-minute mark for even browning. The rolls should have golden-brown tops and be baked through in the center. If needed, continue baking briefly until done.
- Butter and serve. Remove from the oven and immediately brush the tops generously with melted butter. Sprinkle with flaky sea salt. Let cool in the pan for 5–10 minutes, then gently separate the rolls and transfer to a cooling rack. Serve warm for the softest, fluffiest texture.